Configuring Windows to use your preferred language can make using your gear easier.
So, if you want to add a new language to Windows, what do you have to do?
it’s possible for you to configure the installed Local experience packs through the parameters app.
Local experience pack is the name Windows uses to describe the language packs your system can install and use.
To change these, press your Windows key and bang out Language configs, then press enter.
The configs app will open to the correct page.

Windows language controls
A display language is used to configure the language that core Windows features are displayed in.
This includes things like Windows alerts or menus.
To install a new display language, click Add a Windows display language in the Microsoft store.

This will fire up the Microsoft Store app on a full list of all available local experience packs.
(Get may be called Install if youve previously had this pack.)
Select which language features you want to install.

A window will pop up asking which features you want to install.
Other options, like basic typing are essential and cant be disabled.
you could select which variant of the language you want to install as you get the pack.

smack the drop-down box at the top and select your preferred language variant.
Select your preferred language variant.
Remember, this is the language that your windows, menus, etc will appear in.
Choose your Windows display language with the drop-down box.
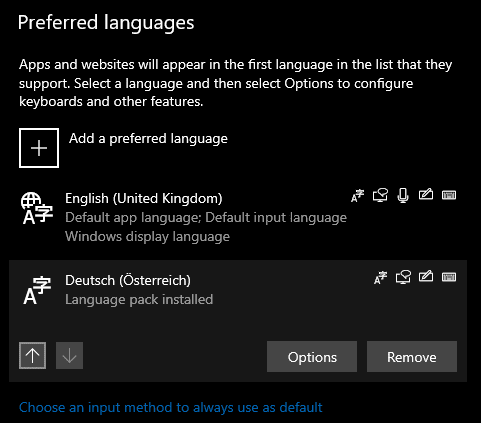
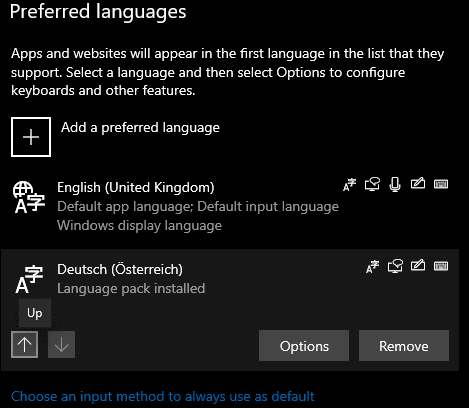
Use the arrows to re-order your preferred language list.
Finally, to remove a language from Windows, pick the language you wish to remove and click remove.
It will be instantly uninstalled.
Tip: You cant uninstall the language at the top of your preferred language list.
