Hard drive partitions are an effective way to manage how data is stored on your hard drives.
It is possible, if unlikely, for data loss or corruption to occur during the process.
There are two quick ways to kick off the default Windows partition manager.

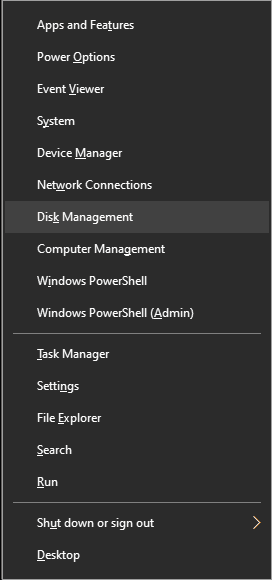
The other way is to press the Windows key+X hotkey combination and then punch Disk Management.
Press the Windows key and X and then select Disk Management to launch the partition creation tool.
Once youve opened it, have a look around at whats there.
The Disk Management tool has two separate displays showing the partitions on the system.
The top panel shows a textual representation of the partition data.
The bottom panel is a graphical representation of the partitions, although the partitions are not displayed to scale.

Each row shows a physical disk in the computer.
Those rows are split into columns, one for each partition that the disk has.
If there arent any, its a solid line showing only one entry the entire disk.

The free space on each partition is not shown in the graphical representation.
The bottom panel is a visual representation of the partition structure.
Shrink the existing partition by the size you want the new partition to be.

The popup window to shrink the partition has four measures of the disks size.
The two most important measures are the second and third.
The second measure shows the amount of space that the current partition can be shrunk by.

The third measure is used to specify how much the partition should be shrunk by.
Shrinking the existing partition may take some time to complete.
Click Next when prompted to start the process.

Once youve configured this, click Next.
Select one from the drop-down box it has to be a letter not already used.
Click Next once youve chosen.
The final tweaks in the wizard configure how the new partition will be formatted.
The File system should be set to NTFS and the Allocation unit size left at default.
Configure the Volume label to be any label you want; this is just a name for the partition.
Especially if you have a lot of partitions, its a good idea to name them well!
The last screen is just a confirmation of the changes.
Click Finish to apply the changes.
The changes will not take long to apply.
