There are two ways to do this via a cable and via a wireless connection.
Heres how to use both those options!
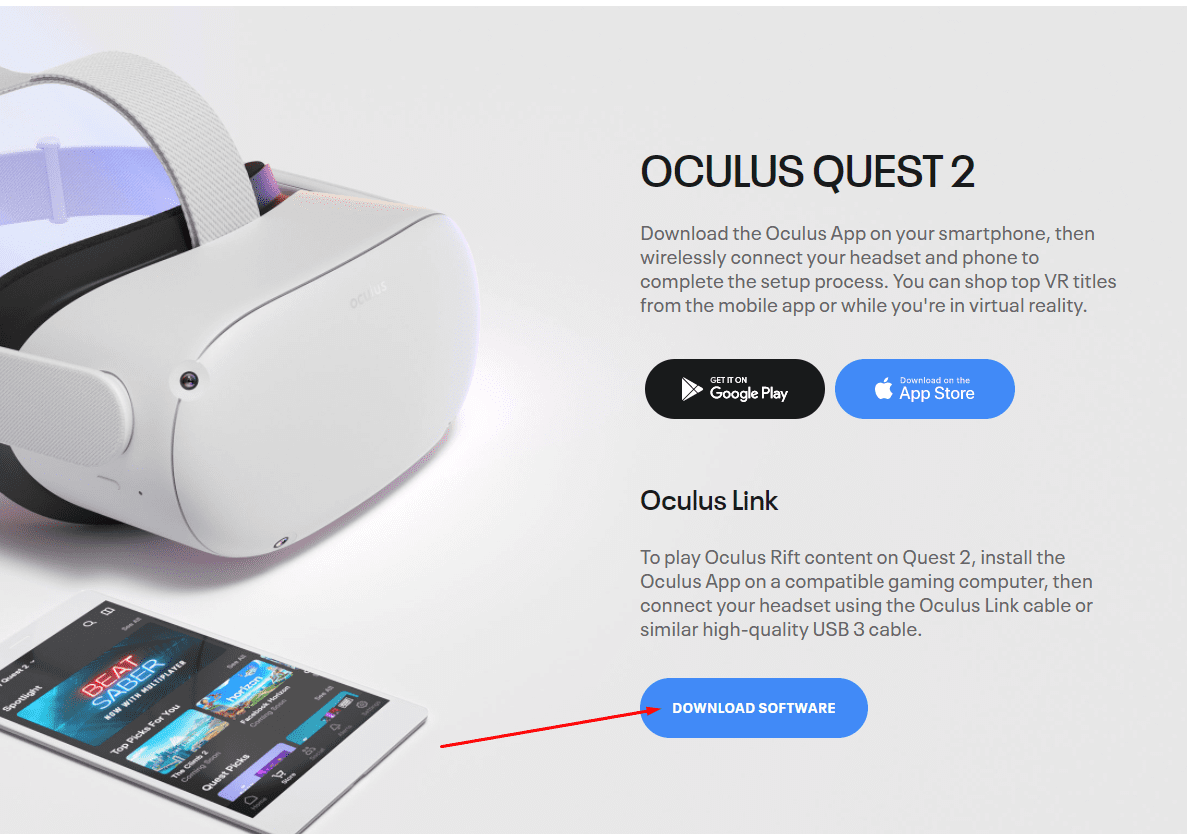
Before you plug the headset into your system, youll need to implement the Oculus app on your system.

To do so, punch the Download Software button on this site:https://www.oculus.com/setup/.
Download the Oculus app
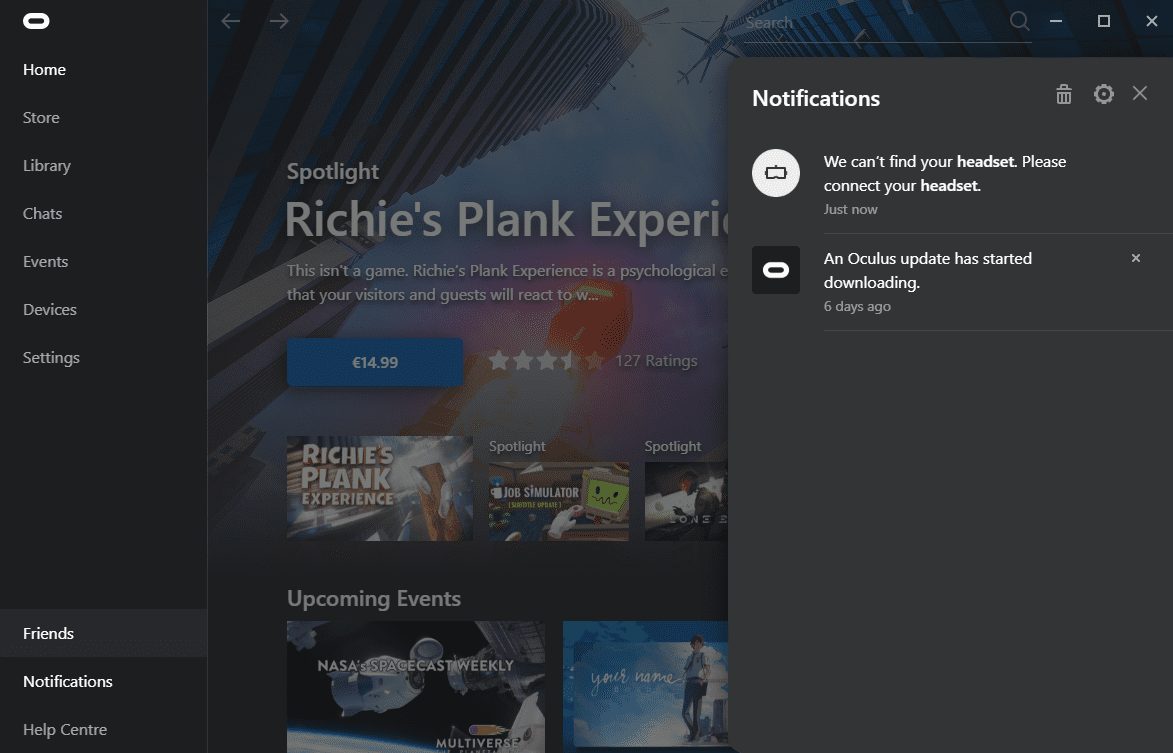
Once youve successfully installed the app, log into it.
Tip: ensure your cable is long enough to allow you to sit/move comfortably when you play.
Youll be prompted to choose whether or not you want to activate Oculus Link.
Select Activate and wait until the Link environment has loaded.
To quit out of the Oculus Link mode, simply use the menu bar again its the far-left option.
Youll end up with the lag, screen-tearing, and possibly even some motion sickness because of all this.
SideQuest is a program for your PC that allows you to add non-Oculus store software to your machine.
Since thats not what we want here, verify to download that app and install SideQuest on your PC.

Once youve done that, youll need to connect the PC and headset via cable once.
Download the Virtual Desktop patch from the SideQuest store.
The Virtual Desktop patch on SideQuest
The patch is free, so dont worry about paying anything extra.

In other words, you dont even need to worry about compatibility issues, etc.
Download and load the patch on your headset via SideQuest and wait for the process to finish.
When it has, youll want to also download the Virtual Desktop streamer app on your PC.

Your headset must be able to connect to your setup.
This is the official page where it’s possible for you to find it:https://www.vrdesktop.net.
you’re free to also find some additional help and advice on both wired and wireless connections here.
If you have problems with the Virtual Desktop software, this is the place to go.
Tip: For quality reasons, playing PC-based VR games will probably be better via cable.
Unless you have a top-of-the-line Internet connection, youre likely to experience some issues with visually intense games.
