Windows 11 is the latest operating system from Microsoft.
It is a free upgrade for Windows 10 users.
I was also eager to upgrade to the latest OS.
But then I found that my laptop was not meeting the minimum requirement.
It has a 7th generation Intel Core i7 processor, 16 GB of RAM, and a dedicated GPU.
TPM 2.0 and an 8th generation processor are the major requirements.
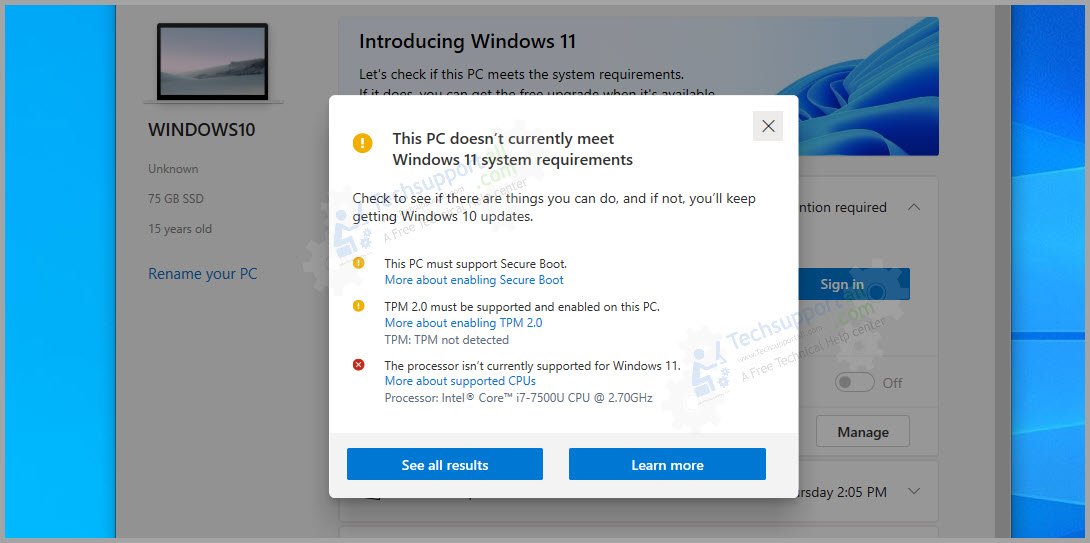
Install theWindows PC health check appfrom the Microsoft Store.
but we do not recommend it.
because Windows 11 is focused on security.
And doing so may compromise the security.
In my case it was the generation of the processor.
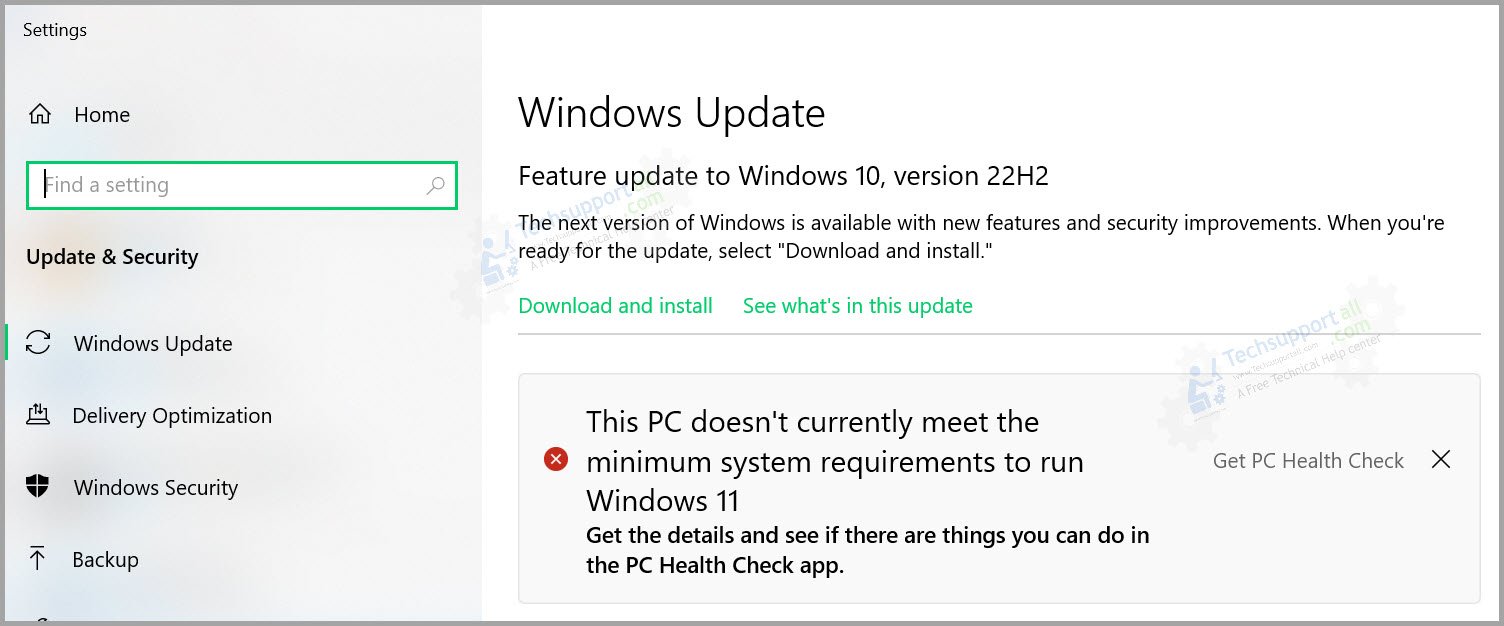
Upgrade Windows 10 to 11 When system meet requirements.
Go to the Windows update tweaks and hit the button check for updates.
It will download and drop in the Windows 11 in the background.
Upgrade Windows 10 to 11 when system doesnt meet requirements.
Then it needs to manually roll out the upgrades using an ISO file.
In my case, I have fixed the issue of TPM and secure boot.
But the major problem for me was that my processor was of the 7th generation.
whereas the Windows 11 upgrade required an 8th generation processor.
So I got some hints on the internet about bypassing the processor check before start upgrading.
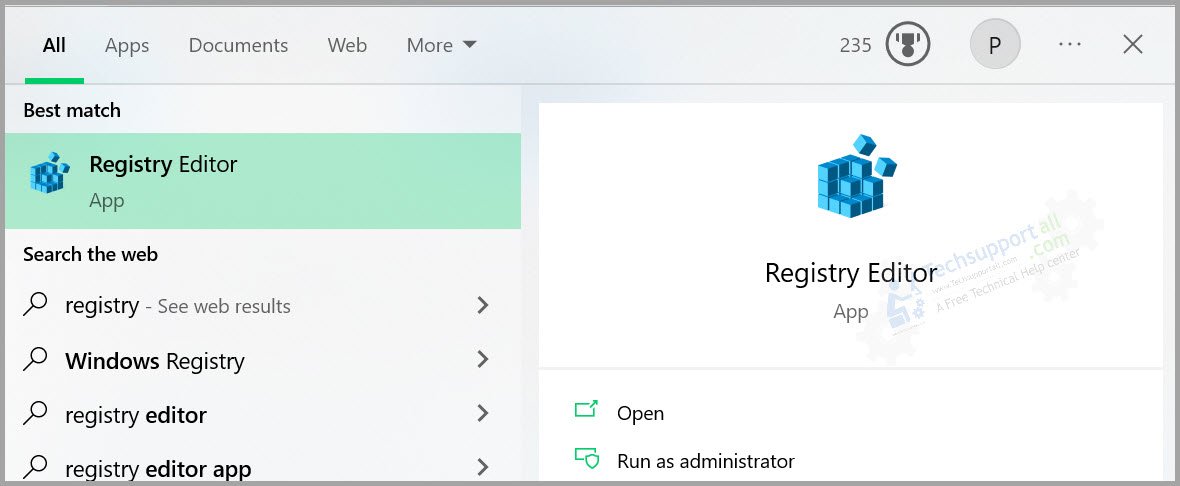
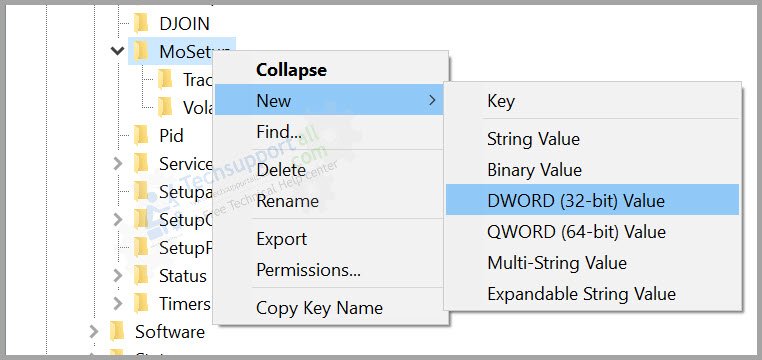
How to Bypass Windows 11 CPU and TPM Requirements?
It will create a new entry in the right side pane.
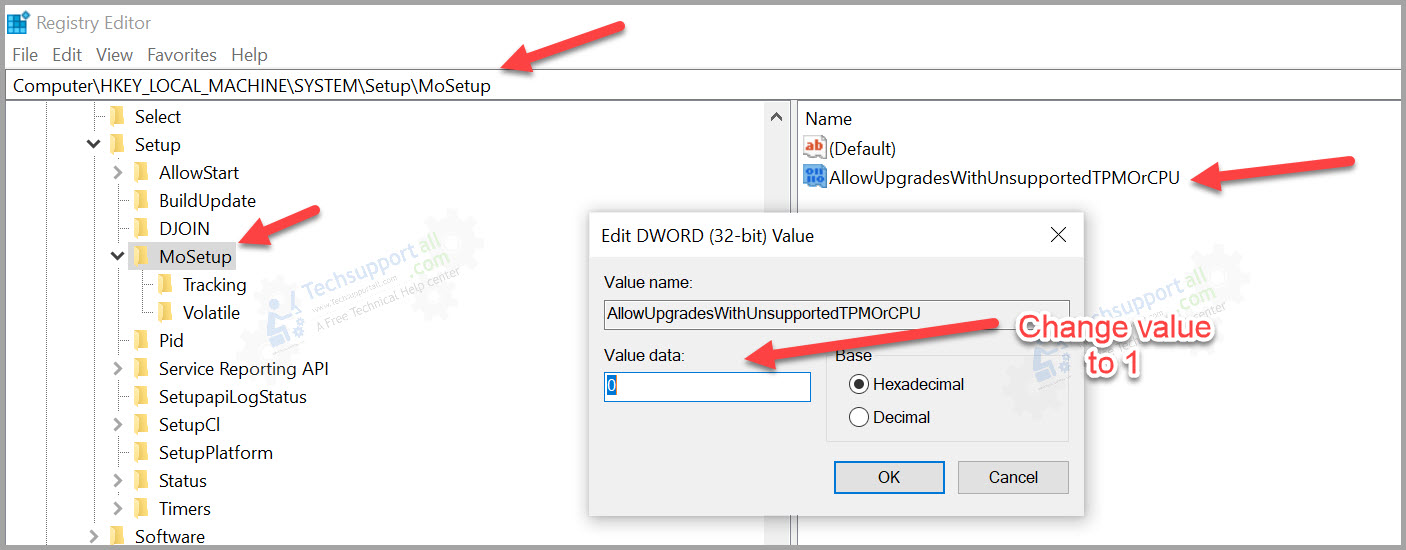
4.Rename it toAllowUpgradesWithUnsupportedTPMOrCPU
5.Now double hit it or Right click and select modify.
It was still showing the requirement error.

So in this case we need to load the upgrades manually bydownloading the Windows 11 ISO file.
And it will skip the CPU and TPM requirement.
Lets find out the process in detail.
DownloadWindows 11 ISO file from its official website.
It is an approx.
5.5 GB file and could take time in downloading.
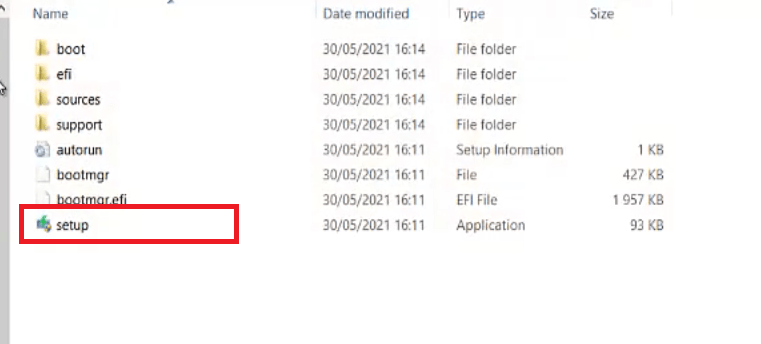
launch the Windows 11 ISOfile you have downloaded before and trigger the setup file to start the upgrade.
ISO file can be mounted by right clicking on it and then hit the mount option from the menu.
It will be mounted to
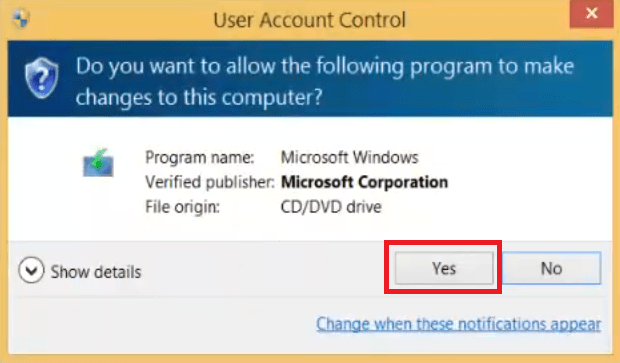
hit the Yes button to proceed.

Windows logo will appear to signify the start of installation process.
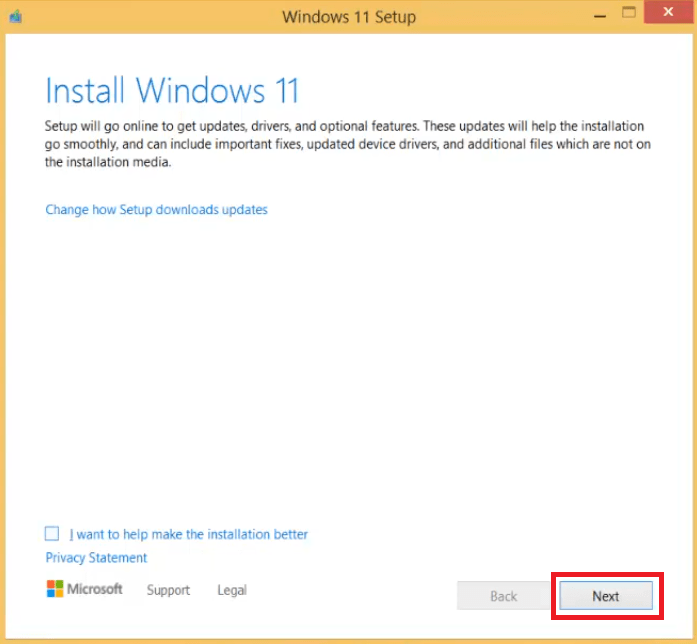
Waitfor the installer to prepare your setup for installation.
punch the Next button to move ahead.

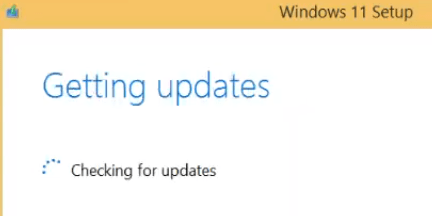
Waitfor the installer to check for the updates.
press the Accept button to accept the license terms.
Waitas the installer prepares for the installation.
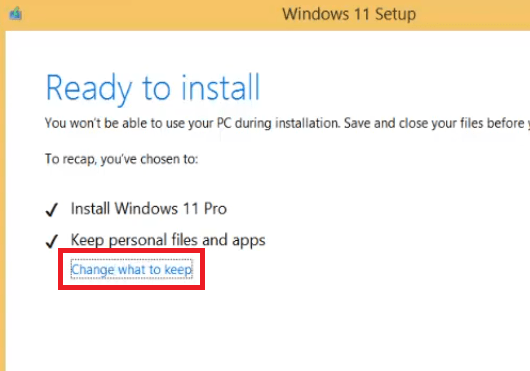
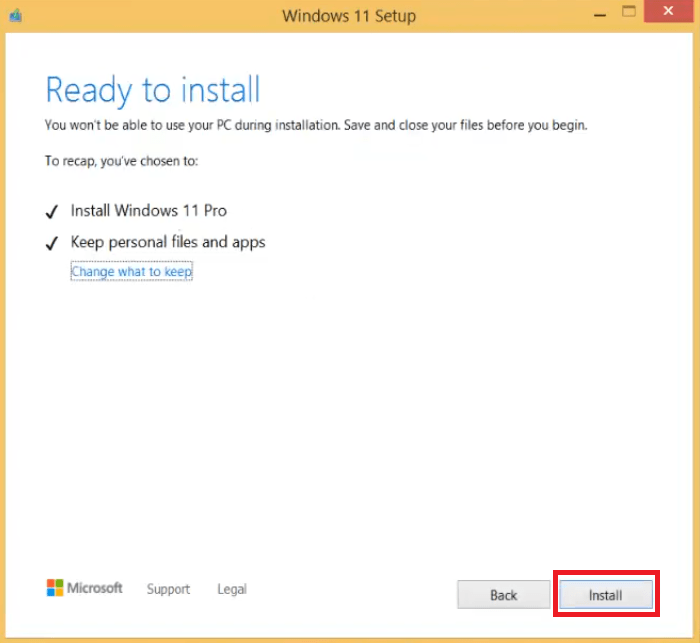
choose Change what to keep link.
Now you have the option to keep files and apps, keep only files or keep nothing.
In some Windows 7 computers, the option to keep personal files and apps will be deactivated.
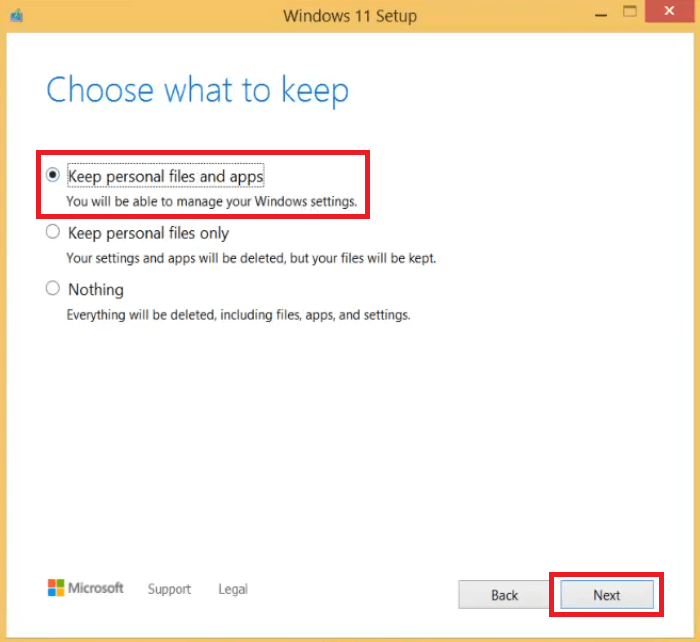
In such a scenario, you should prefer Keep personal files only option.
Finally, press the Next button to proceed.
It will give option to keep your all data intact during windows 11 upgrade process.
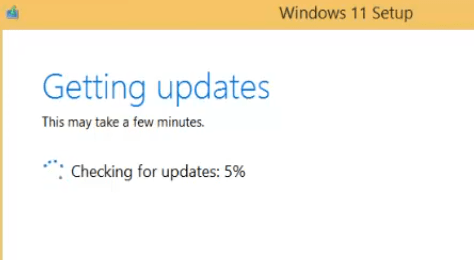
Waitfor the installer to get the updates.
When you see Ready to install message, press the Install button to proceed.
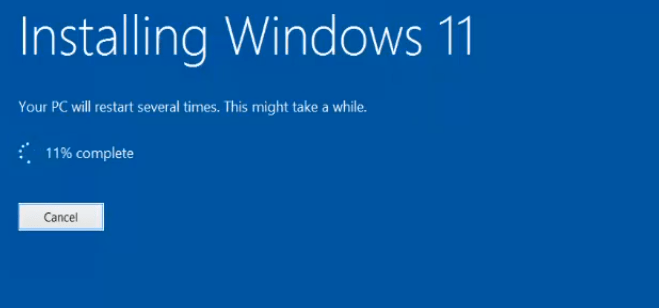
Now windows 11 files will be loaded and installed on your rig.
This whole process will require multiple system reboots.
So,waitpatiently for it to complete.
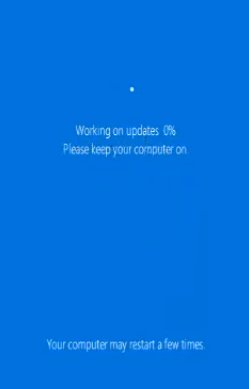
Windows 11 logo will appear after reboot.
Waitfor the Windows 11 files to load and install themselves.
After upgrade is over, you will see the login screen.drop your passwordto proceed.
Waitfor the Windows 11 to prepare itself for the first start-up.
This may take some time.
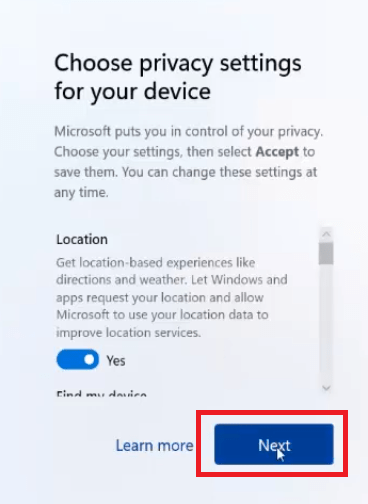
Choose privacy settingsaccording to your preference, then press the Next button.
Finally, you will see the Windows 11 home screen.

For me the whole process took approx.
Then this guide will help you to upgrade fromWindows 7 to Windows 10.
Guide below will also help you to upgrade to Windows 11 using its ISO file.

Why Upgrade to Windows 11 & Not Fresh Install?
FAQs
Yes, you’re able to.
But you could also upgrade to Windows 10 from Windows 7 or 8 License key for Free.
ISO files are very useful to upgrade or install Windows in offline mode.