Using a printer on a computer is usually a simple process.
you might easily share your Wireless printer or USB printer.
It will connect it through networking.
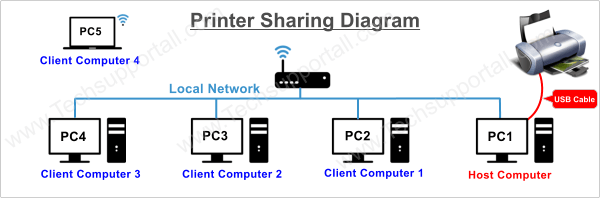
So lets seehow to share a printer on Local Networkin Windows 10.
So follow the following steps.
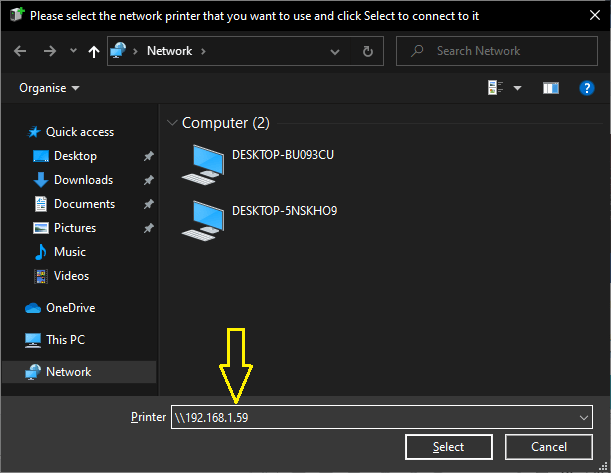
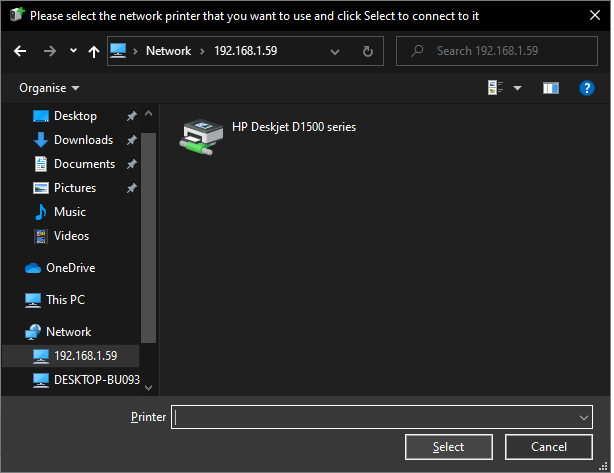
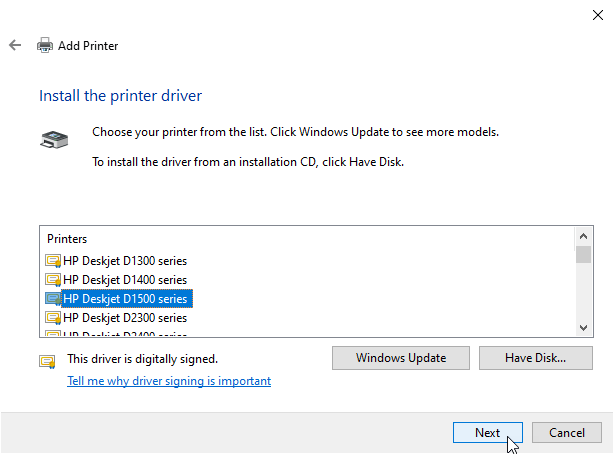
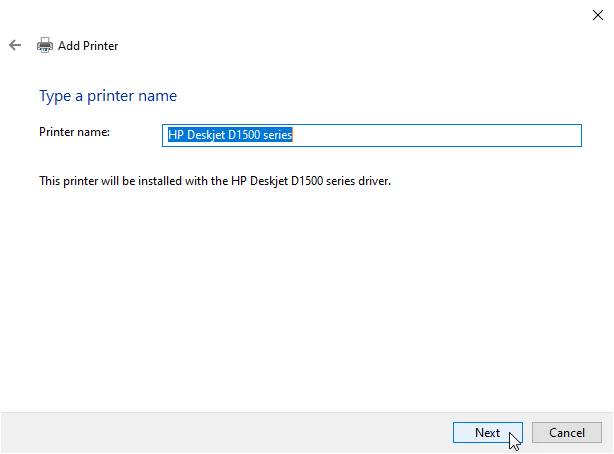
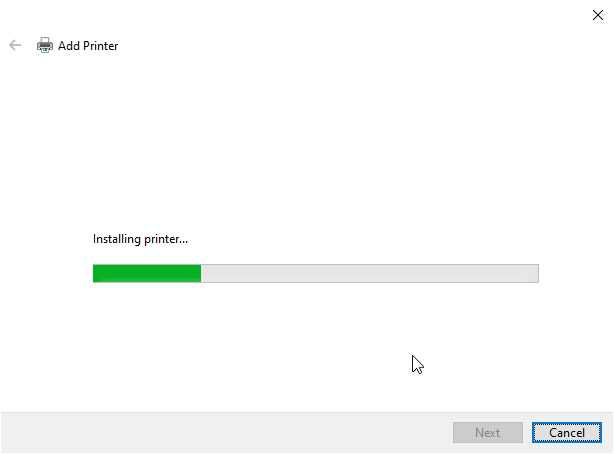
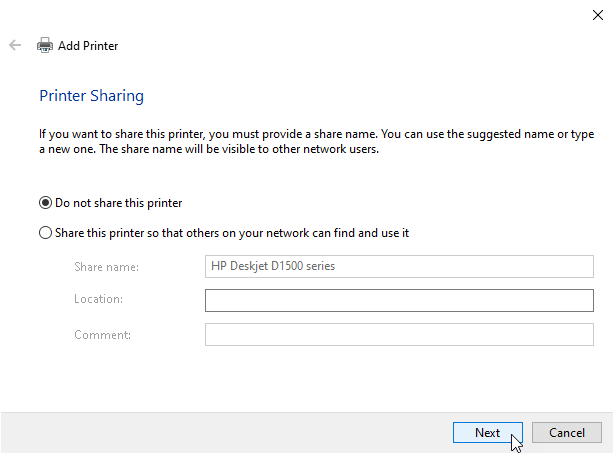
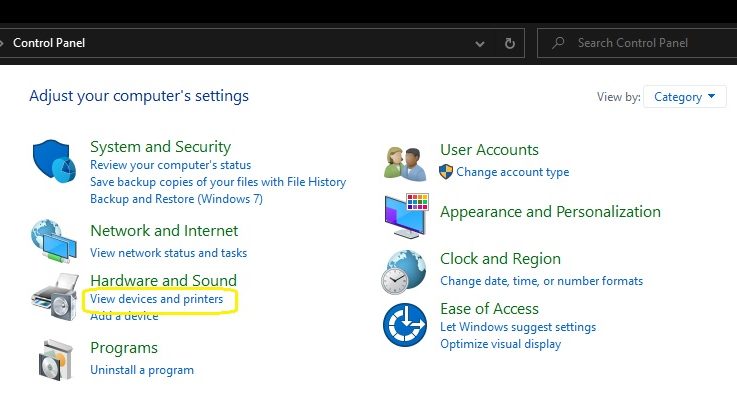
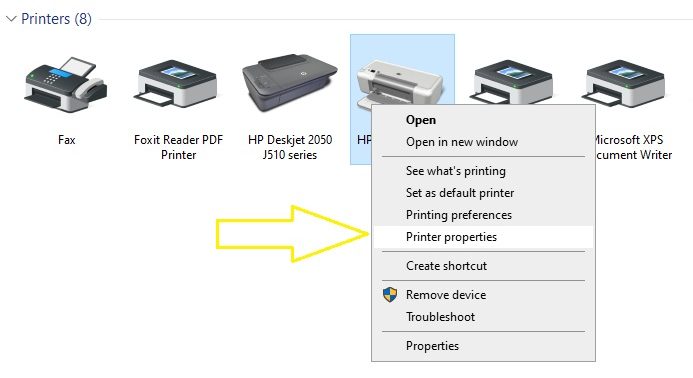
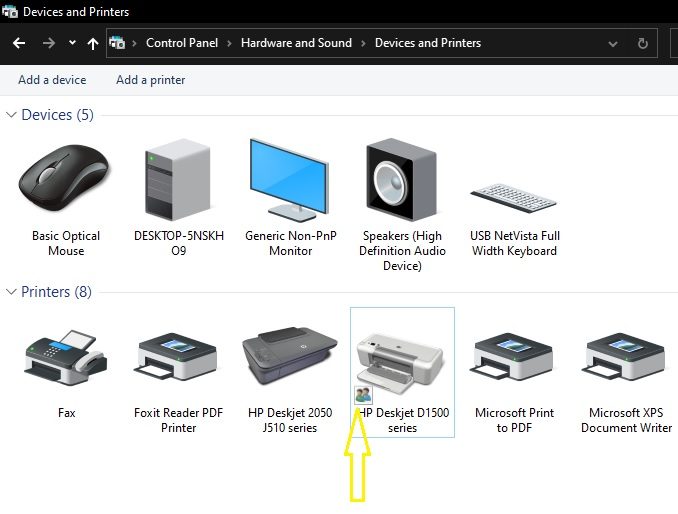
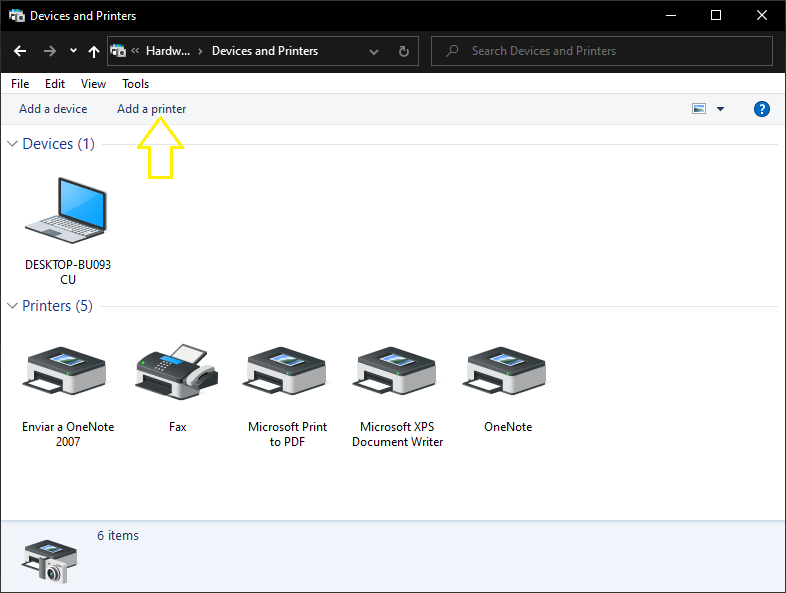
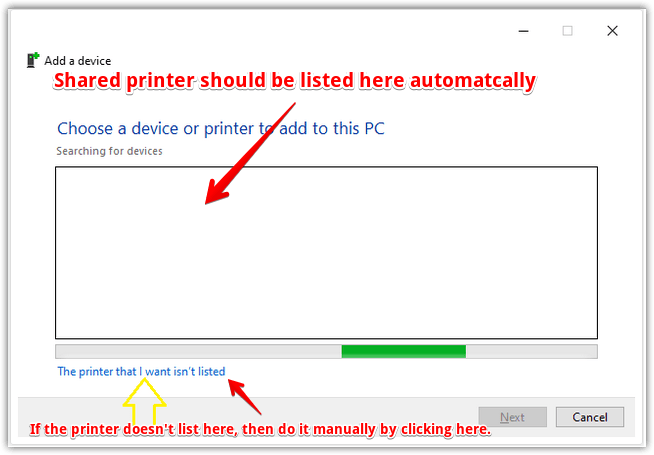
We will now add the printer on the client computer.
We havefinally seen how to share a printer on a local online grid in Windows 10.
Preparations
It is necessary to have the detection of networks and shared resources.
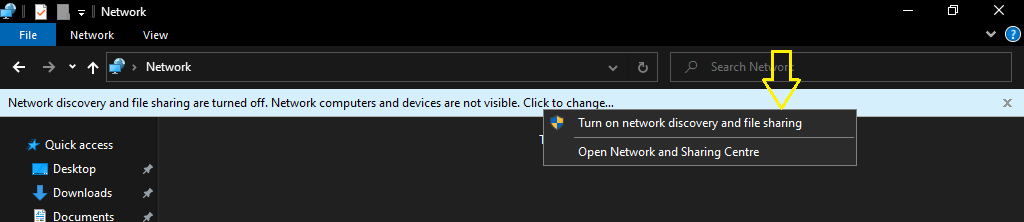
With this in mind, press theWin + Ecombination to launch the file net net app.
Then click onNetwork.Immediately, choose the warning message.
Then, activate the internet and file-sharing detection.
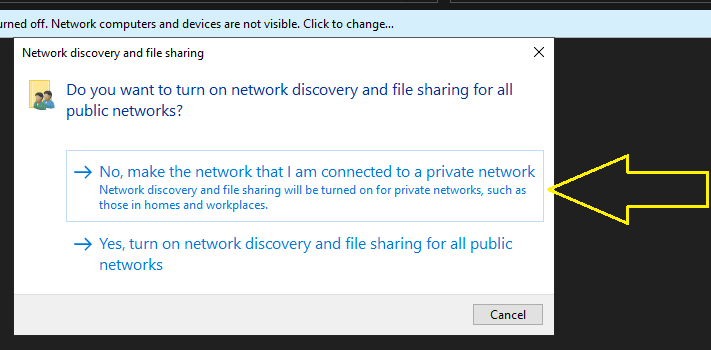
Immediately, a window will be displayed with two options regarding private and public networks.

I recommend using the first option and making the data pipe private to allow visibility and file sharing.
However, this action is not recommended for public networks such as airports and squares.
This is a Windows security method to prevent intrusions.
But in our case, we are using a secure private connection so there are no problems.
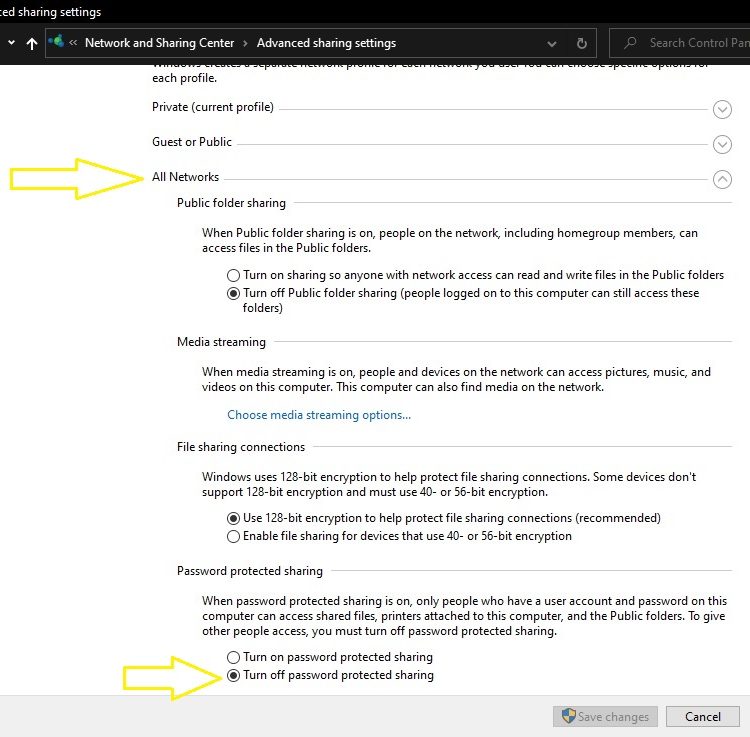
yo display the options and shut down the protection in thePassword protected sharingsection.
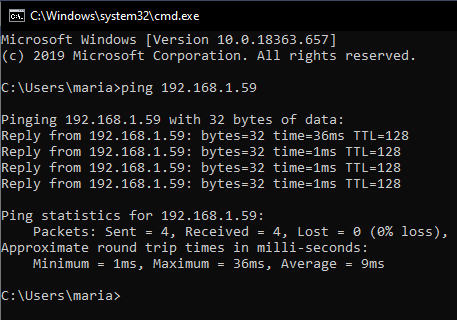
To check the communication between the main computer and the clients for the printer, we will use thepingcommand.
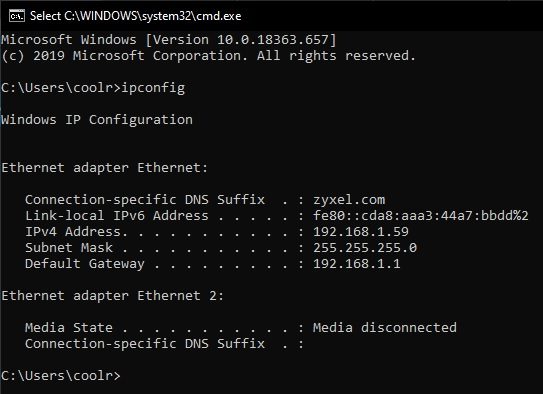
But first, it is necessary to know the IP address of the main computer.
But first, it is necessary to know the IP address of the main computer.
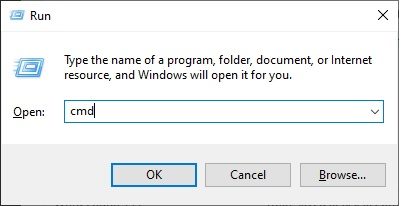
With this intention, press theWin + Rcombination and runCMD
Then execute theipconfigcommand.

Depending on the connection of your equipment, copy the value corresponding to IPv4 address.
If the sent packages are displayed as shown in the image, then the connection is correctly established.
If not, check the IP address or that both computers are connected to the same web link.
The recommendation is that the domestic data pipe is configured as private.
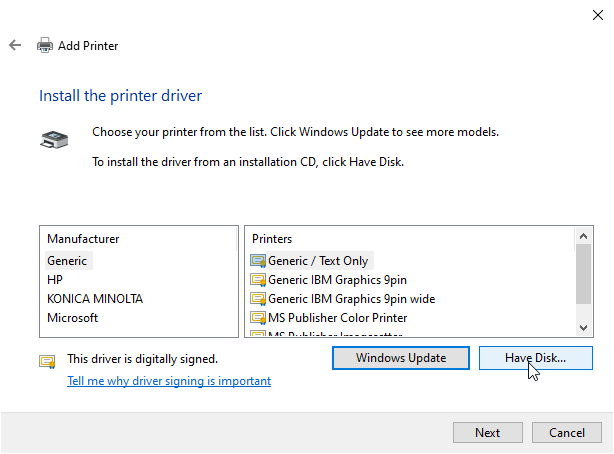
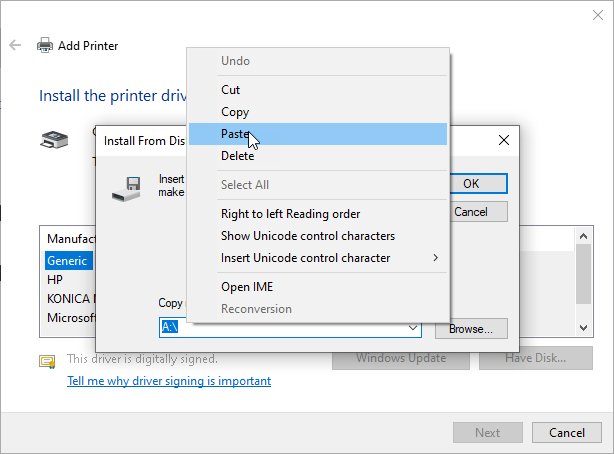
Download your printers basic (.INF) driver.
It will require when well drop in the shared printer on the clients computer.