Windows 10is a system in constant evolution.
In fact, Microsoft proposes Windows as a service model.
In other words, the system is never completely finished.
Instead, it will continuously receive feature updates.
In addition to receiving the usual security patches.
Consequently, Windows will constantly receive updates.

However, it is well known that many updates require a reboot of the computer.
In addition, the process consumes bandwidth.
This means that the task may interrupt the users normal activity.
So it is interesting to be able to schedule these updates at a time selected by the user.
In fact, in the evening is a good time.
Since it is likely that you are not using the computer at this time.

Use Windows active hours to schedule updates
Windows usually has an aggressive policy regarding updates.
This restricts the margin of action of the users in this respect.
However, it incorporates functions that help to use the updates more intelligently.
One of them is called Active Hours.
This feature of the system determines what is the time range when the computer is used.
Consequently, no updates or reboots will be received during this time.
This feature has two modes of operation.
First, the system automatically determines the hours of peak system activity.
Alternatively, we can also manually set these active hours.
Lets check out the complete procedure the schedule windows updates in Windows 10.
Lets say, during the night.
Windows does not allow you to schedule an update for a specific time.

However, what we can do is to instruct the system not to receive updates at a specific time.
Then, outside of this time, updates will be received.
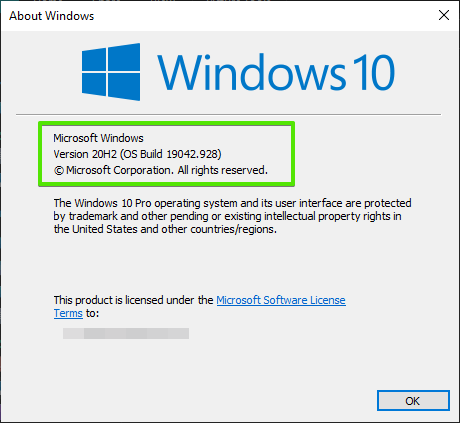
To check which version of Windows you have, press theWin+Rcombination and run thewinvercommand.
Next, it is time to edit a few parameters.
Step 1: Configuring power options.
If you want to receive updates during the night, then we must modify the power options.
This is so that the system does not go into Sleep mode.
Remember that by default, the system enters this mode after a certain amount of time without use.
Consequently, computers in this state will not be able to receive updates.
We need to edit the system power plan.
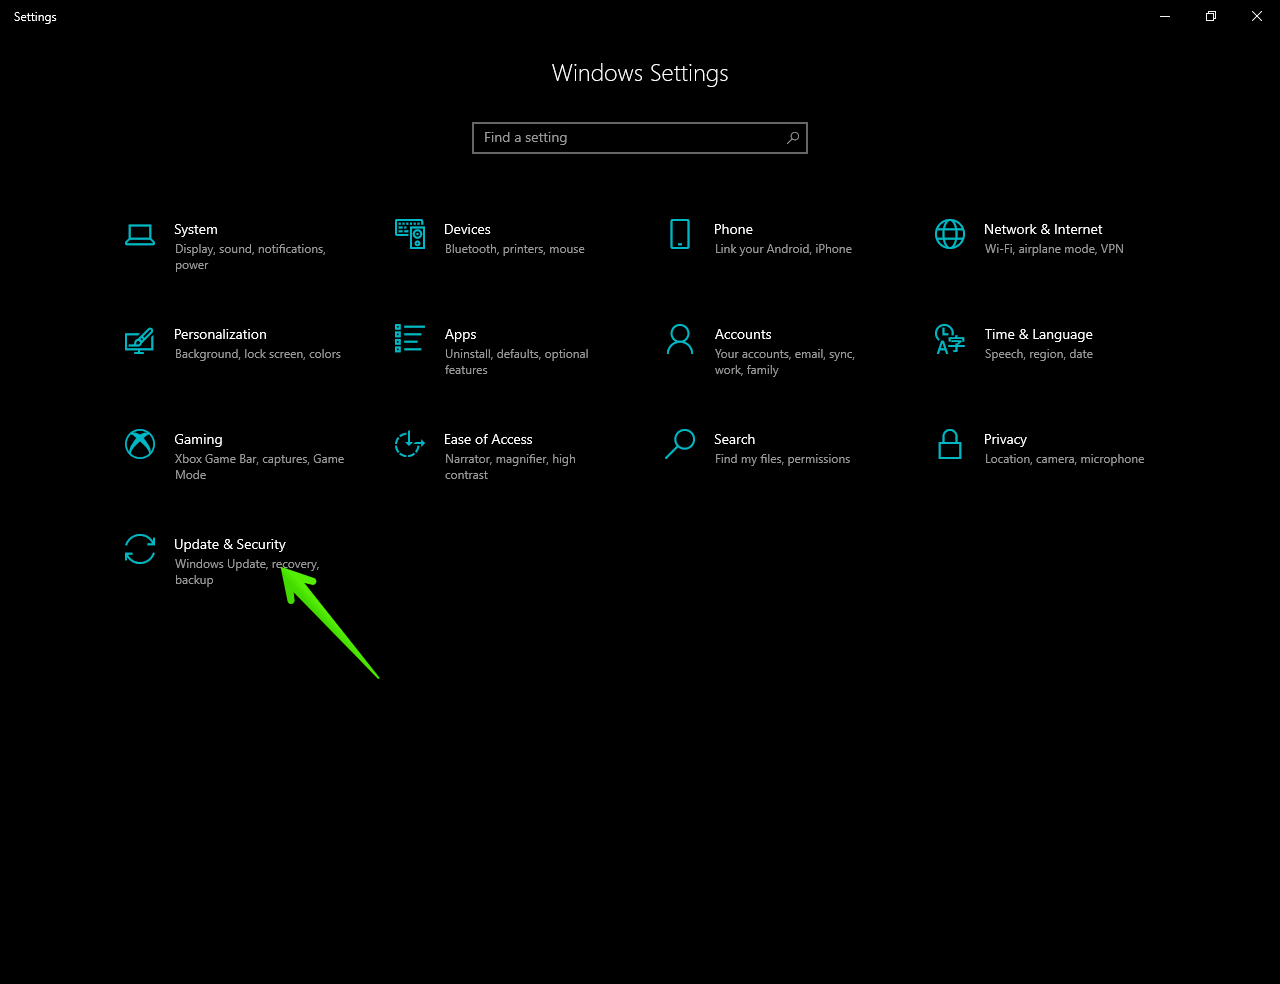
With this in mind, press the Win+Q combination to launch the search box.
Once youre there, yo key in Power & Sleep.
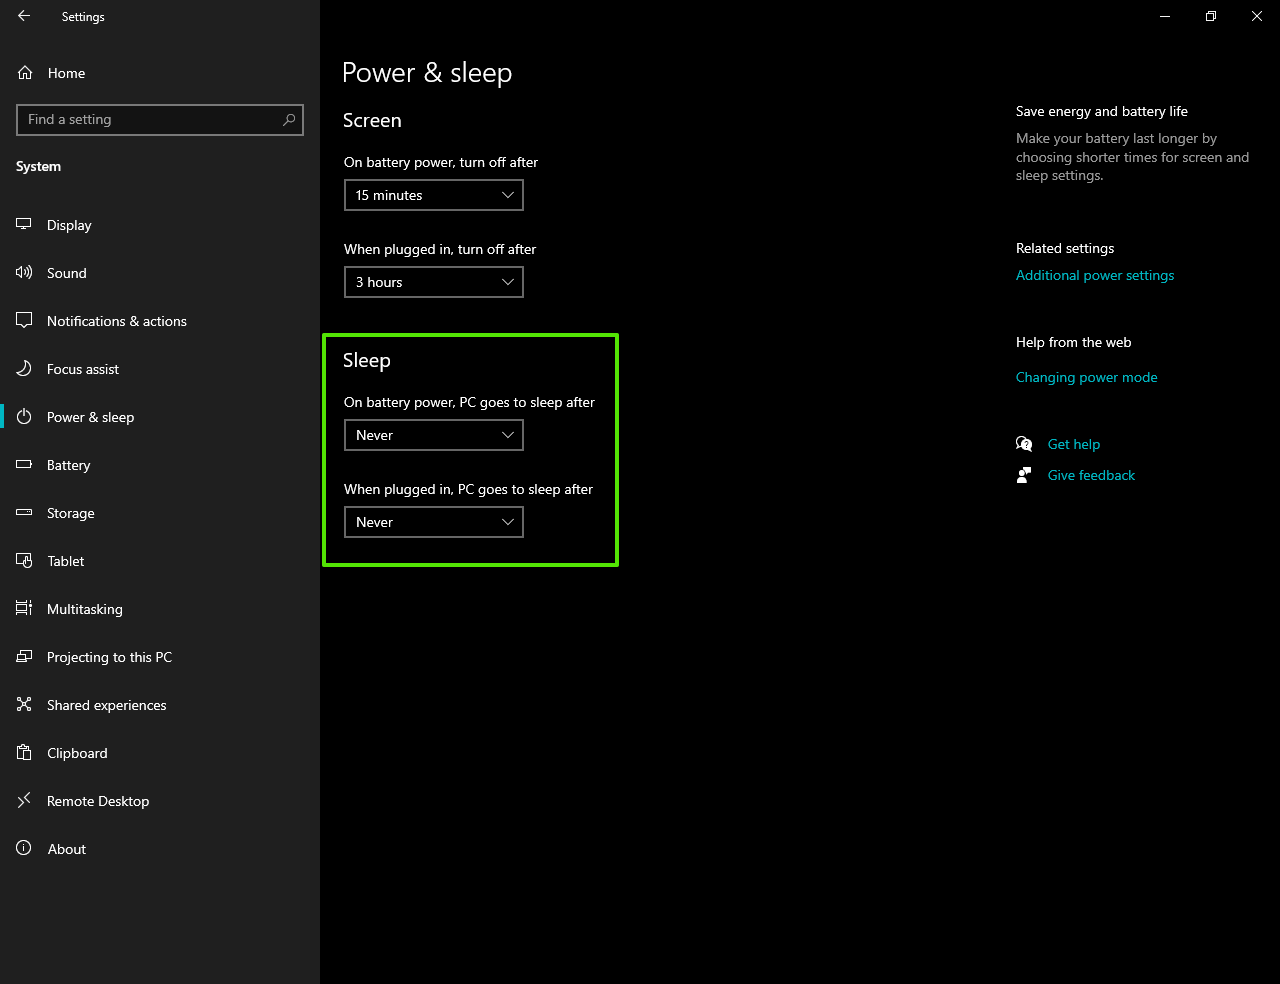
Once inside the Power options, it is necessary to edit the Sleep value.
If you are using a laptop, then there are two options.
With battery and with power plugged in.
In both boxes, you must set them toNever.
After modifying the energy plan, we are ready for the next step.
Step 2.
Setting the Windows active hours during the day.
We have already mentioned this feature.
Well, what we will do is to use the function.
But we will be the ones to set the range of hours.
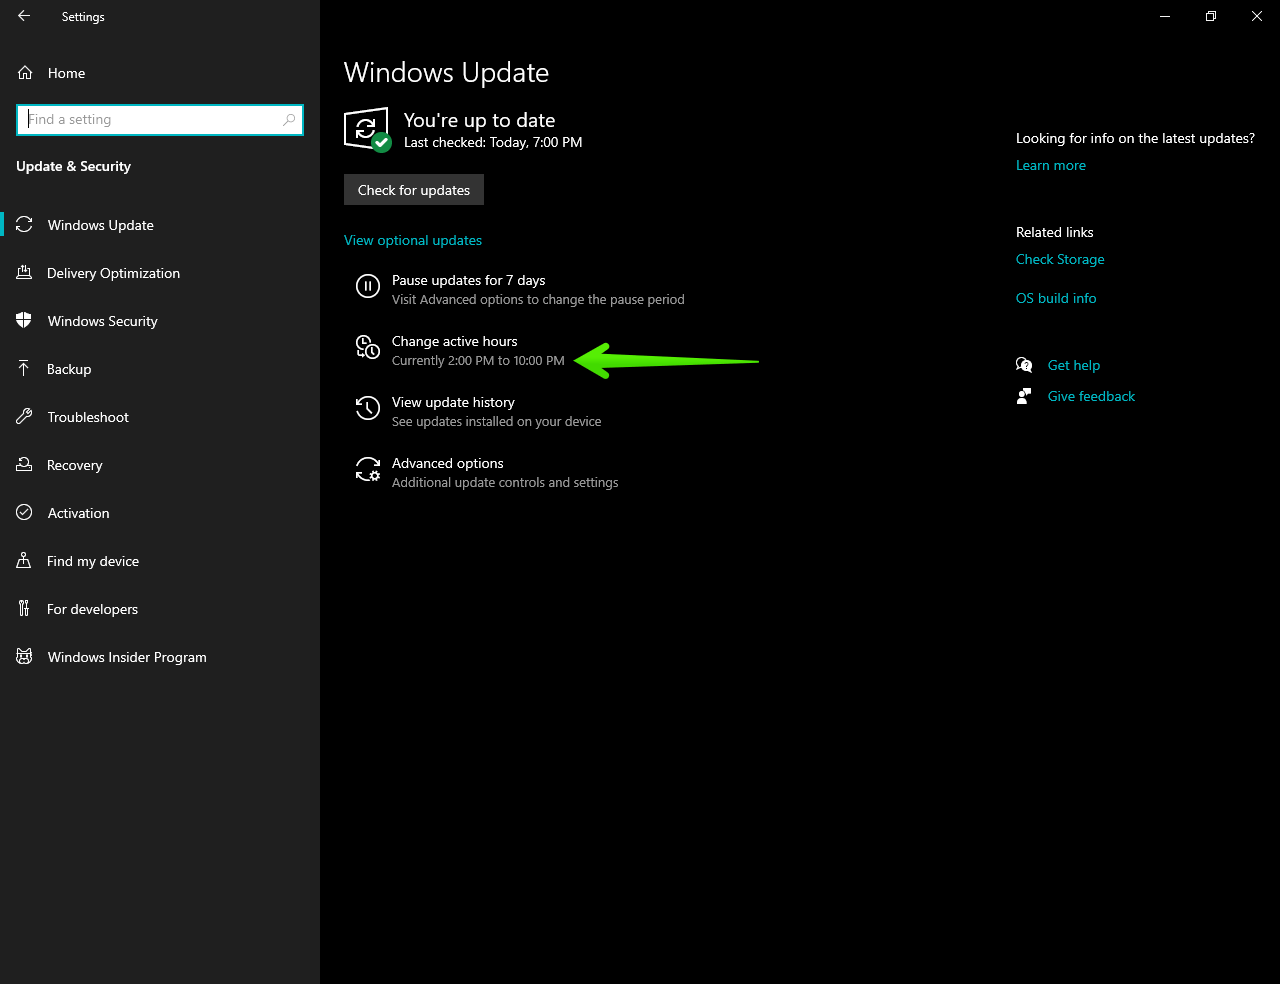
Step 2:On the next screen, hey click onChange active hours.
Step 3:Here you’re free to set the system to automatically adjust the active hours.
It does this based on user activity.
However, we have to set up the activity manually.
With this in mind, click onChange.
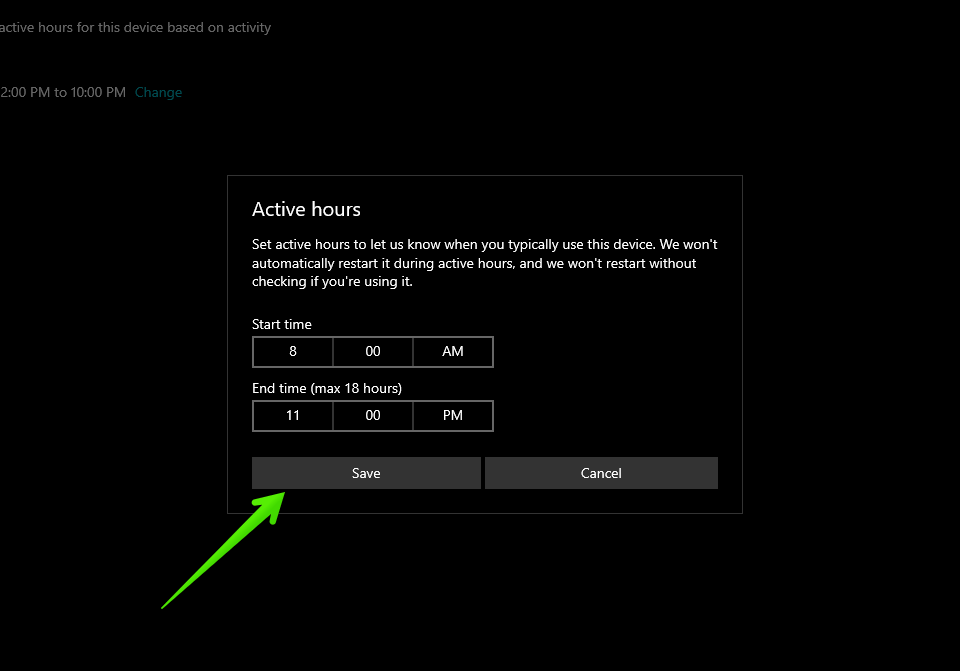
Step 4:In the next window, you must set the range of active hours.
yo note that you’re able to only use a maximum of 18 hours.
Of course, you must leave out the night hours.
This is so that receive updates during these hours.
In this example, I willdefine the active hours from 8 AM to 11 PM.
However, it’s possible for you to set any value you wish.
When you are ready, justclick on Save.
This will set the daytime hours as active hours.
Consequently, the system will manage updates in the evening hours.
Specifically from 11 PM onwards.
Problems related to Windows 10 Updates
Windows 10 updates some times create issues for many reasons.
Here are other helpful articles to fix them.
