Simply follow the steps below and youll have Android up and running in no time.
Contents
1.
Installing Virtual Box and Launching the VM
The first step is, of course, installing VirtualBox.

To do so, download the software from the official website and follow the simple install process.
Doing so can avoid some compatibility issues later on.
Create and name a new virtual machine.
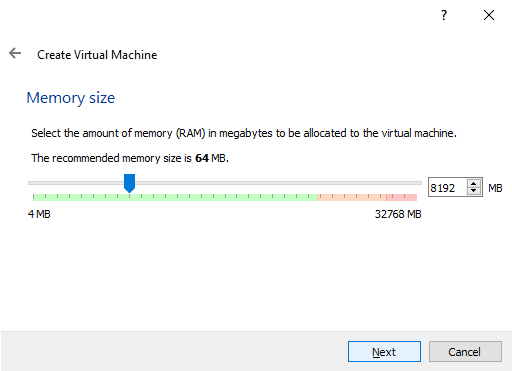
Configure the amount of RAM that your VM is allocated.
double-check to go for the option to create a virtual hard disk now and hit next.
Any file bang out will work, the default of VDI is perfectly functional.
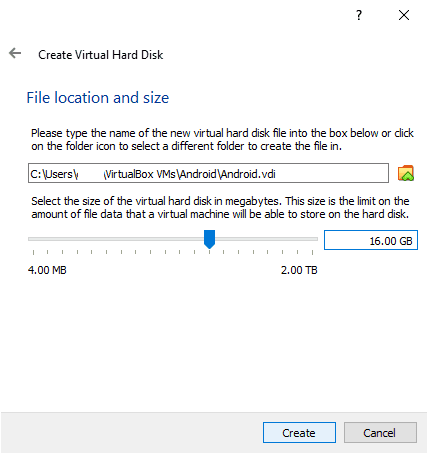
Again, hit next, and set the file to be a Fixed Size.
The minimum hard drive size required for the Android-x86 image is 8GB.
Configure the size of the hard drive for your VM.
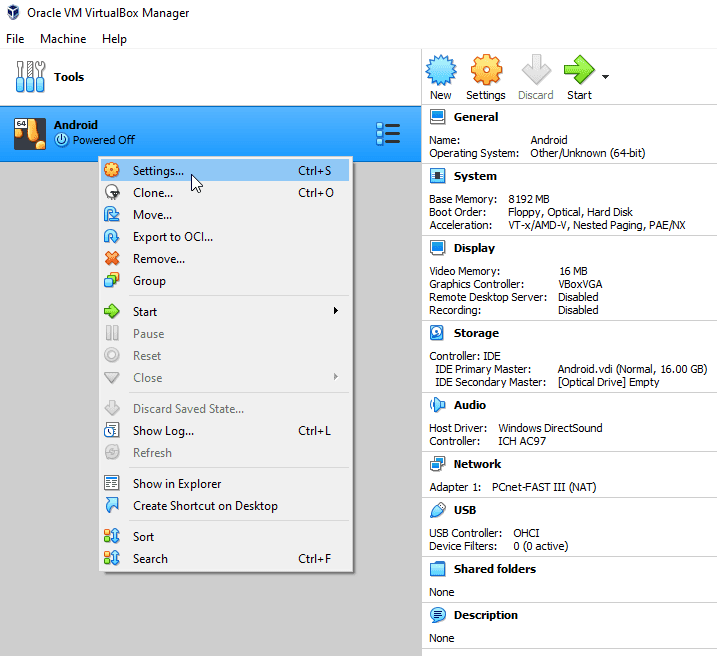
Right-punch the unit and go into the parameters.
launch the equipment parameters.
In the configs, your first stop is the Processor tab under System.
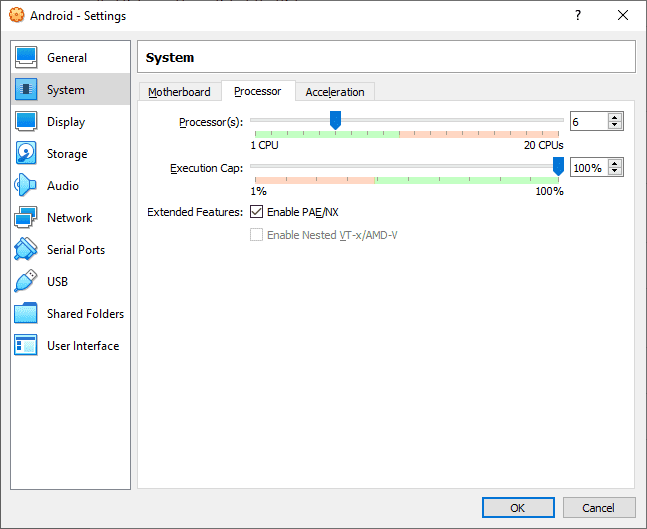
Here, you’ve got the option to configure the number of CPU cores the VM will have.
You should increase this to at least two but preferably more.
double-check to leave at least two CPU cores to your operating system, although four is better.
Assign the number of CPU cores to use.
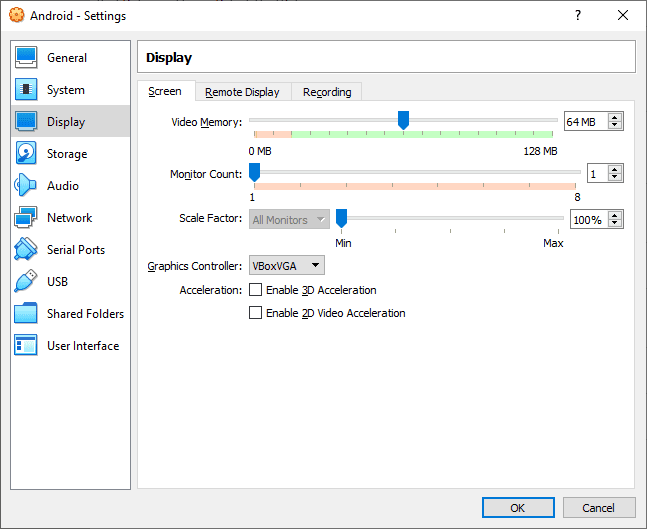
The next step in the controls is the Screen tab under Display.
Configure the amount of video memory.
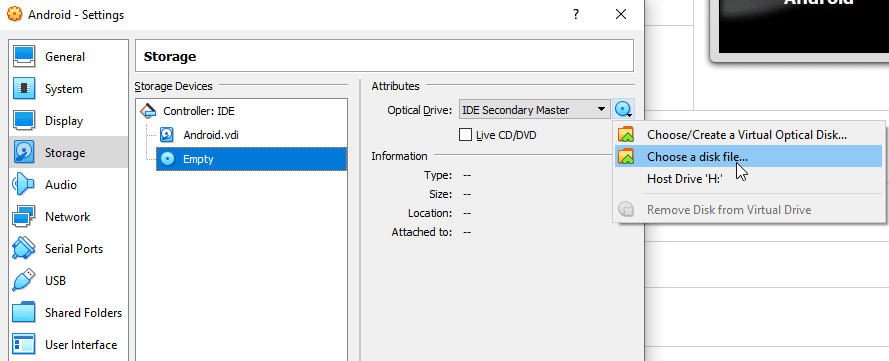
Select these options to import your iso image.
Next, you have to select which ISO you want to use.
This is where the Android ISO you downloaded earlier comes in to play.
Its likely in your downloads folder (or wherever you saved it to).
In Windows File Explorer the file jot down is listed as Disc Image File.
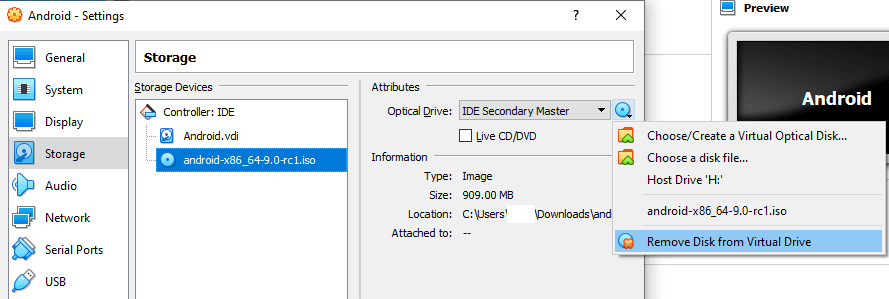
Once the ISO is imported hit OK to update the VM parameters.
Launch the VM
Now you are ready to launch the VM for the first time.
To start installing Android, just pick the VM and then click start.
You may be asked to Select a start-up disk, if so, go for the Android ISO.
The next screen is the Choose Partition screen.
Here you instruct the VM where to install Android on your virtual hard drive.
To create a new partition, highlight the New option and press enter.
You should, however, apply a name to the partition.
Once the partition is created it’s crucial that you write the change to the disk.
When prompted, verify that you want to format the drive.
If prompted to convert the disk from GPT to MBR select yes as GRUB and GPT are not compatible.
The next prompt will ask if you want the /system directory to be read-write, select yes.
From here you should configure your Android VM as you would any other Android machine.
The options you pick are entirely up to you.
When the setup is complete, you could use your Android setup however you would like.
Remove the ISO from the VM.
