Microsoft Teams is an essential platform for virtual meetings, webinars, and collaborative work.
Before we dive into the process, lets understand the significance of accessing Teams recordings.
Accessing Teams channel or non-channel meeting recordings is essential for several reasons.

It is common practice to revisit, cite, and review content without omitting essential details.
There are various uses for meeting recordings, making it imperative to know the location for Teams meeting recordings.
With this knowledge in mind, lets proceed with the article.
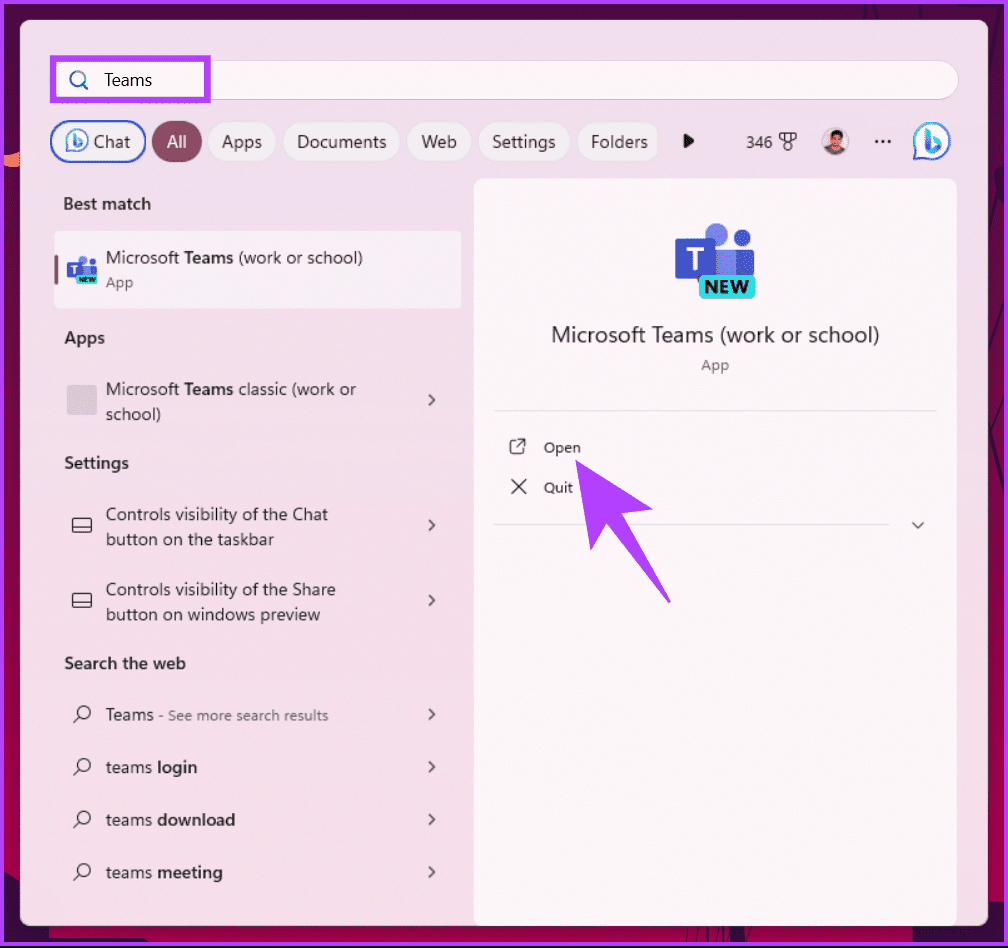
Note: If you are on Mac, press Command + Space to Spotlight search Teams and launch it.
Step 2: Navigate to Teams from the side pane.
Step 4: Once in the channel, tap on the Files tab at the top.

Teams will take a bit to load folders associated with the channel from Sharepoint.
you’re free to choose the Recording folder that Teams use to save all the recordings.
This was the case when Teams Channel was existent.

What if the meeting you had was not part of any Teams channel?
So, only the host has access to the recording.
Lets start with the first-case scenario.
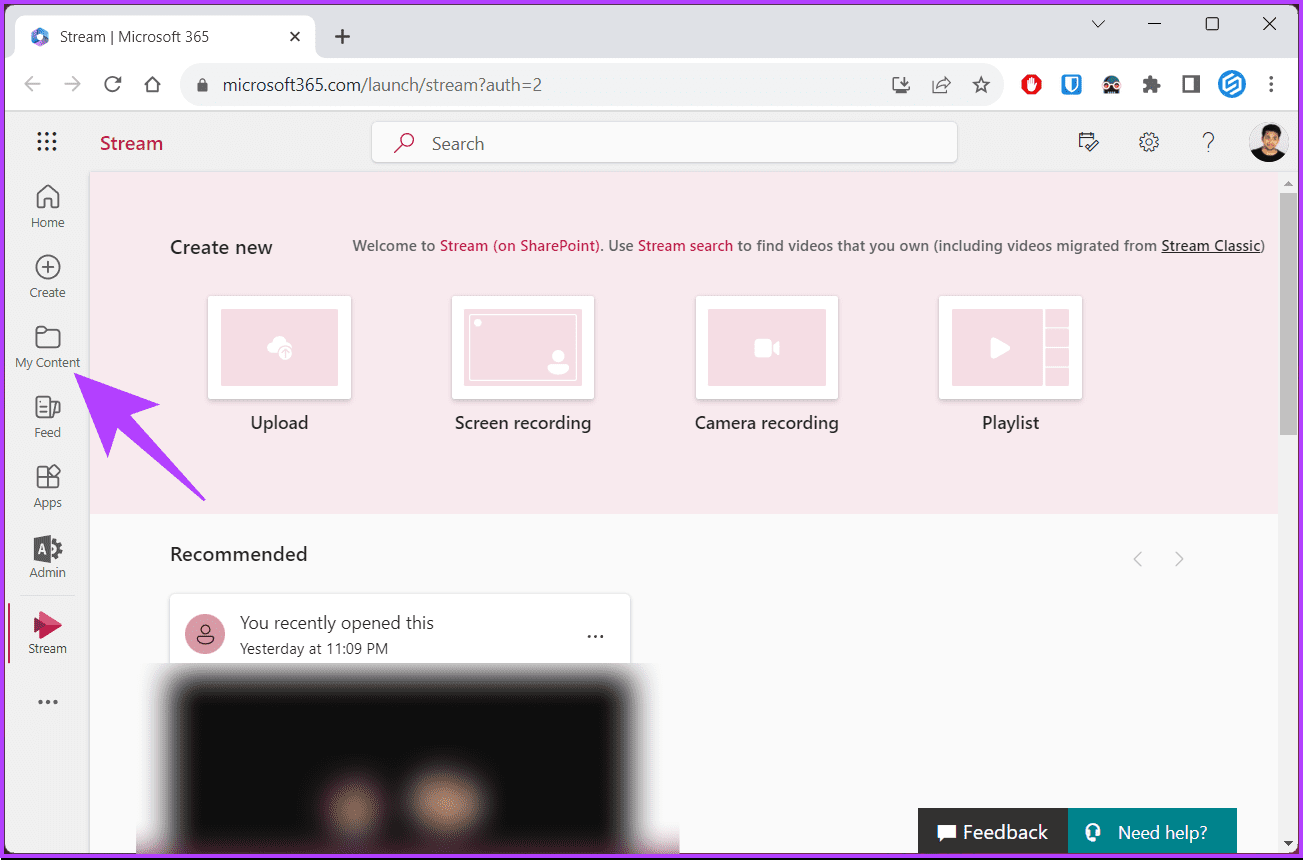
Go to Microsoft Stream
Step 2: press My Content and select Meetings from the drop-down menu.
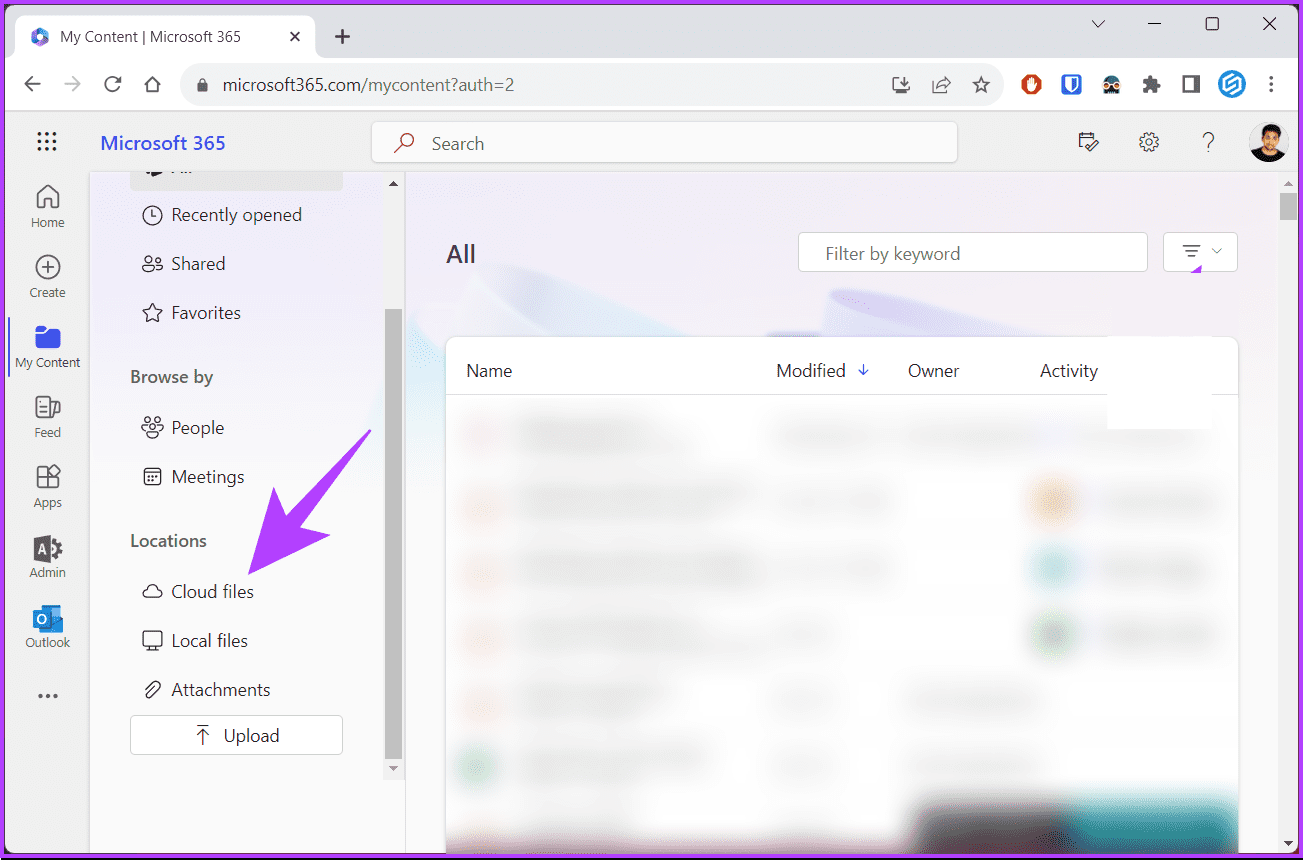
Step 3: Under Locations, navigate to Cloud files and tap on it.
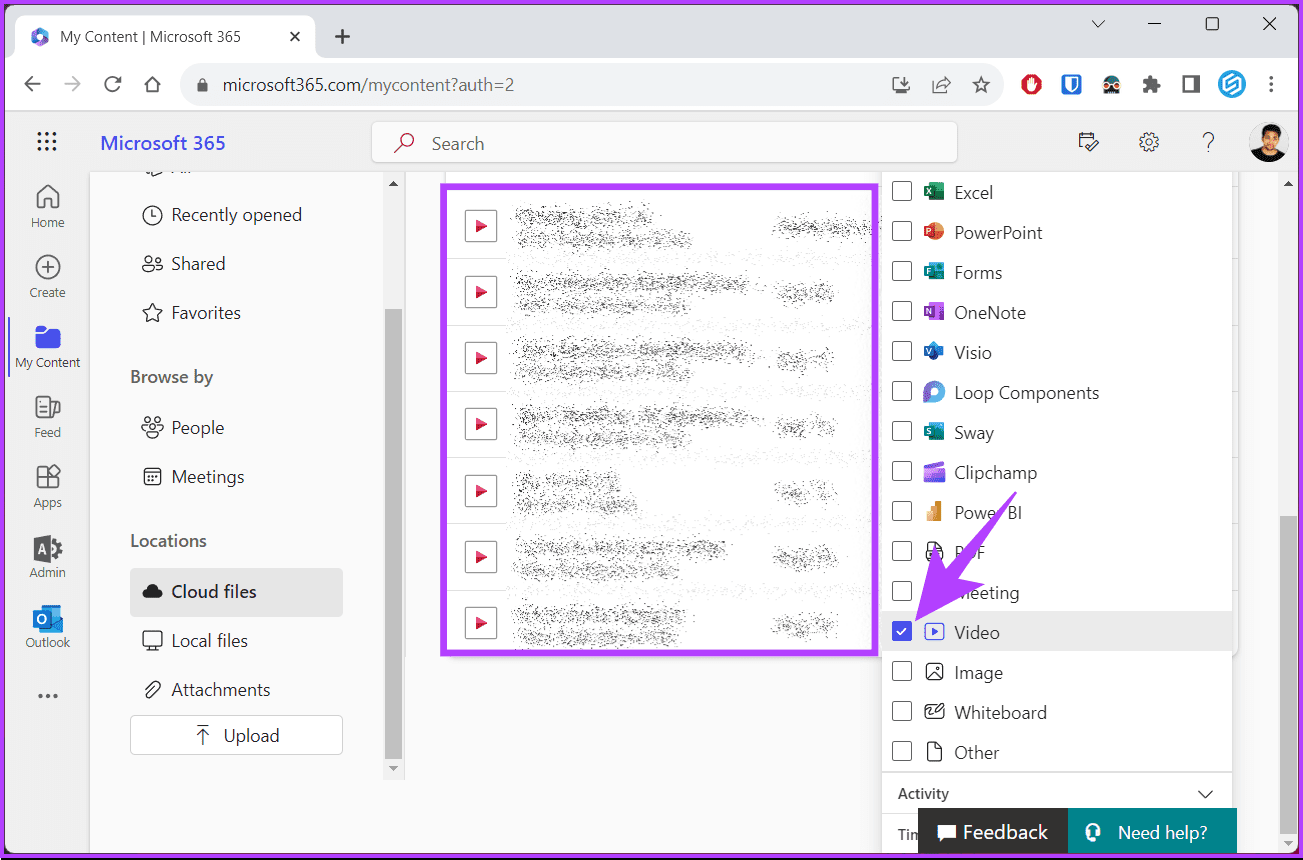
Step 4: grab the Filter icon.
This was the case when you were the host of a meeting.
What if you were an attendee?
By default, you will land on Teams Chat.
Step 2: Navigate to the auto-created meeting group (the system automatically adds invitees).
It is important to note that you’re free to only view the recording.
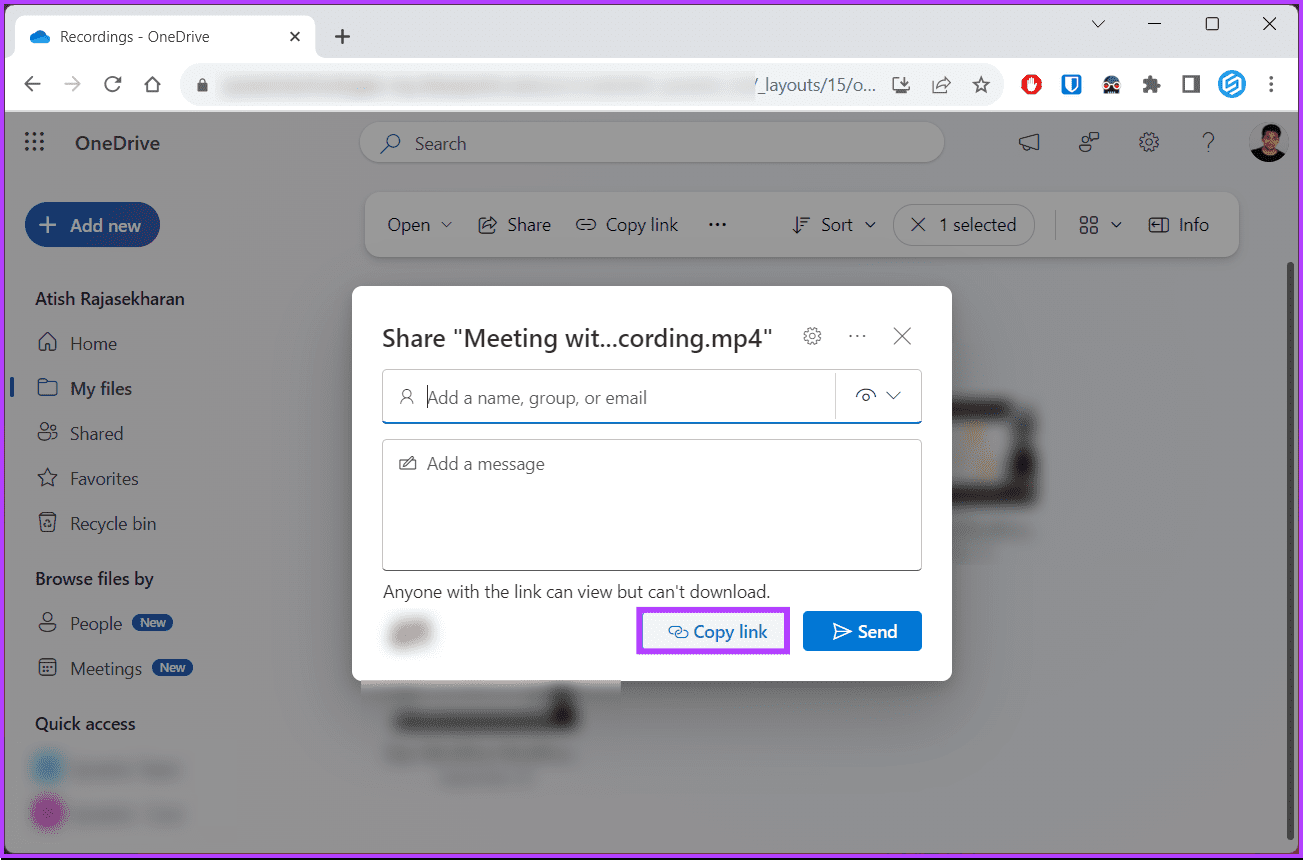
Step 1: Go to OneDrive and get in with the appropriate credentials.

Go to OneDrive
Step 2: From the side pane, go to My files.
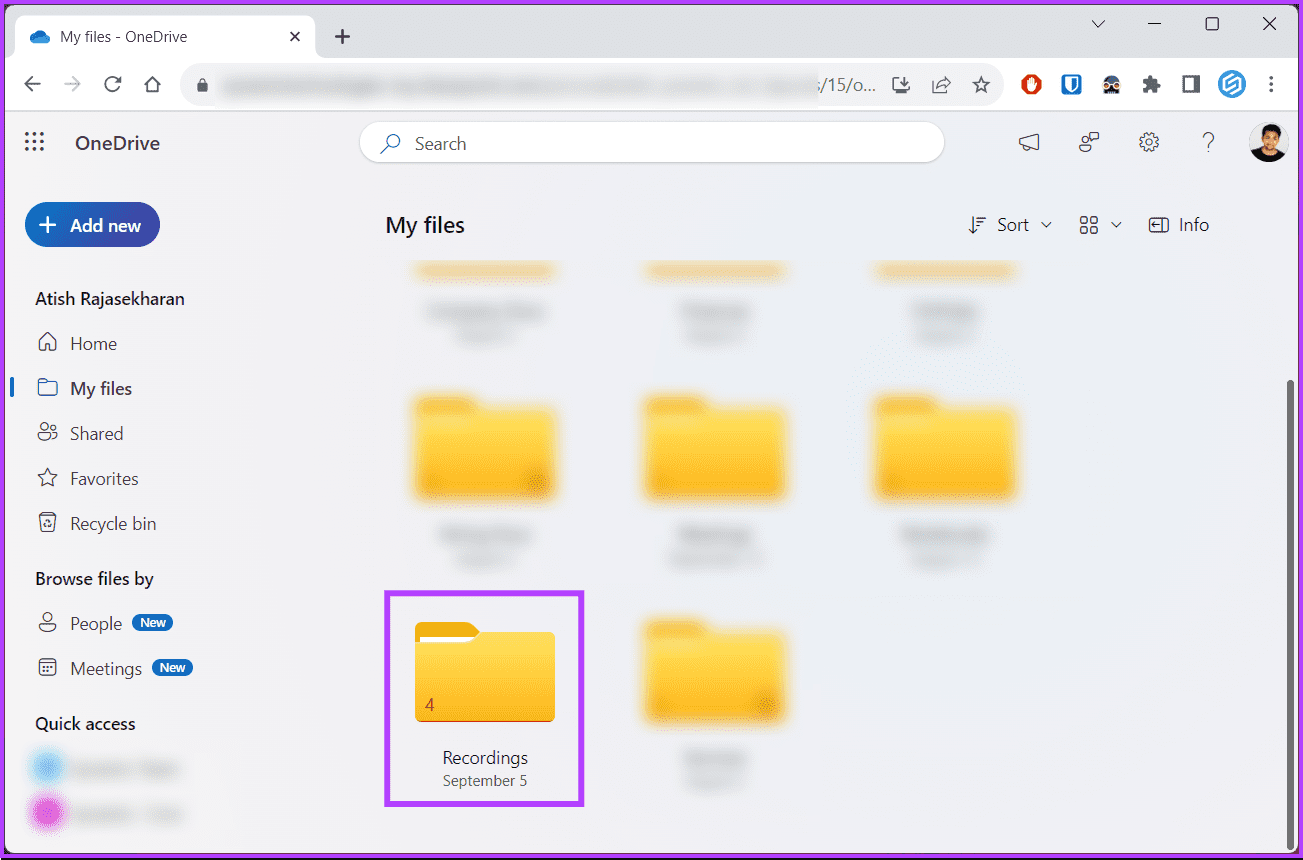
Step 3: Navigate to the Recordings folder.
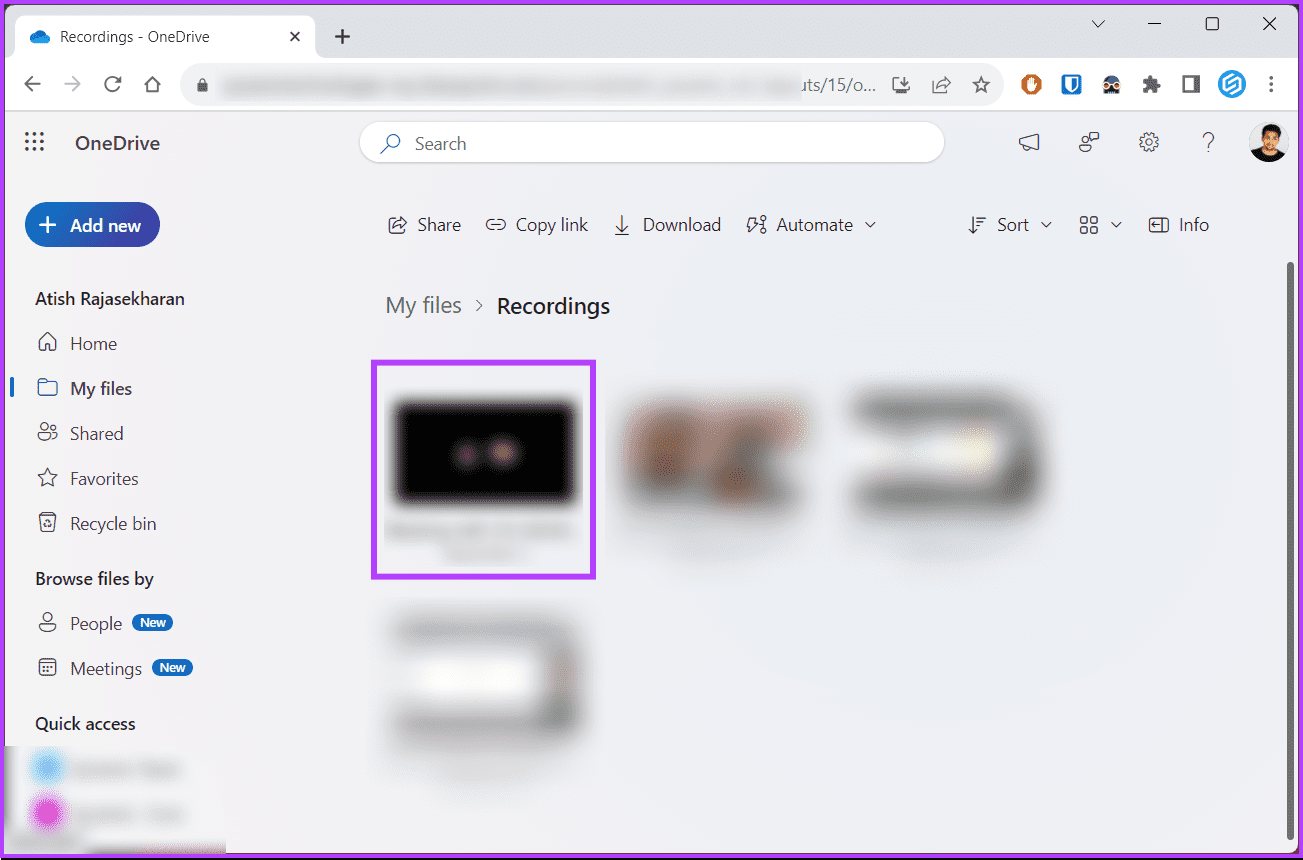
Step 5: From the drop-down menu, choose Share.

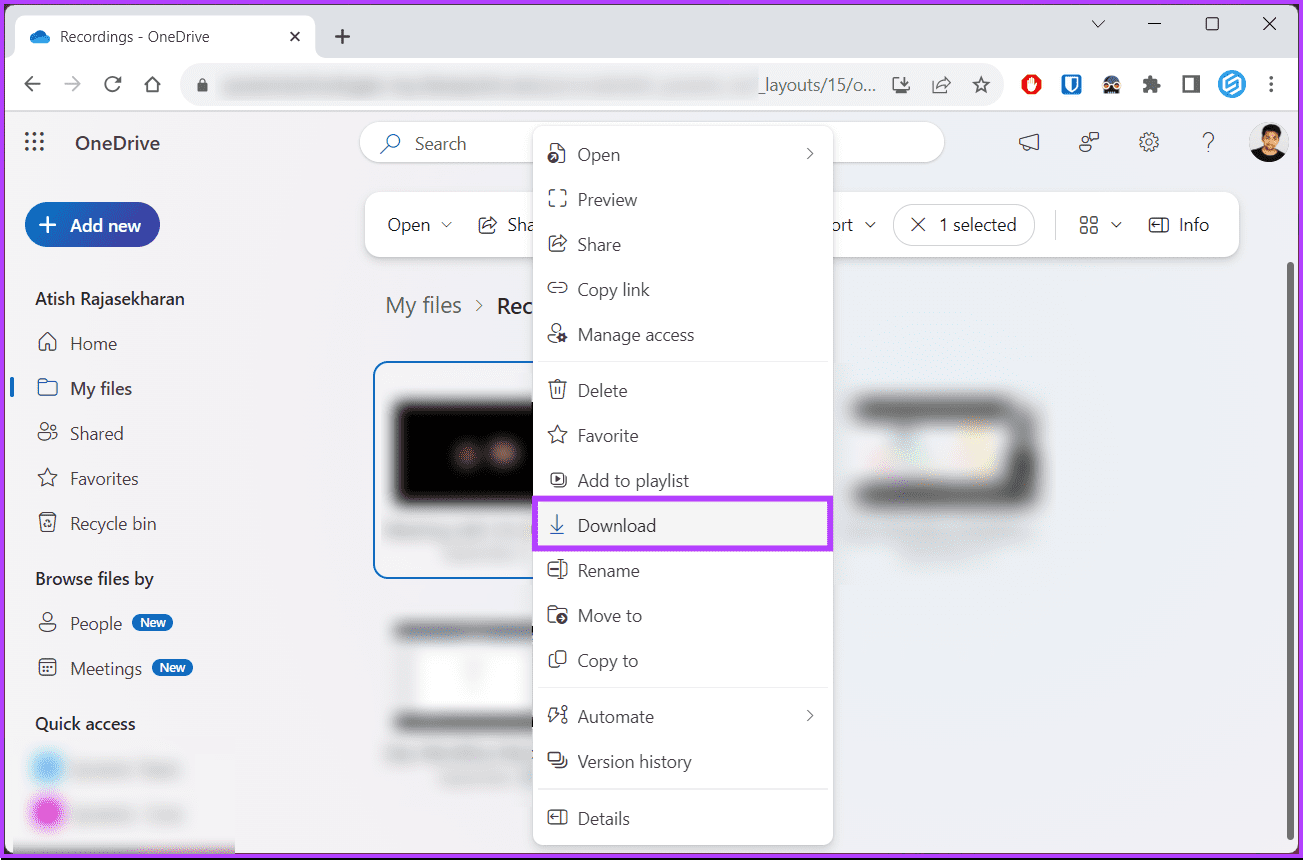
Step 5: From the drop-down menu, choose Download.
The recording will be downloaded automatically to the default storage location.
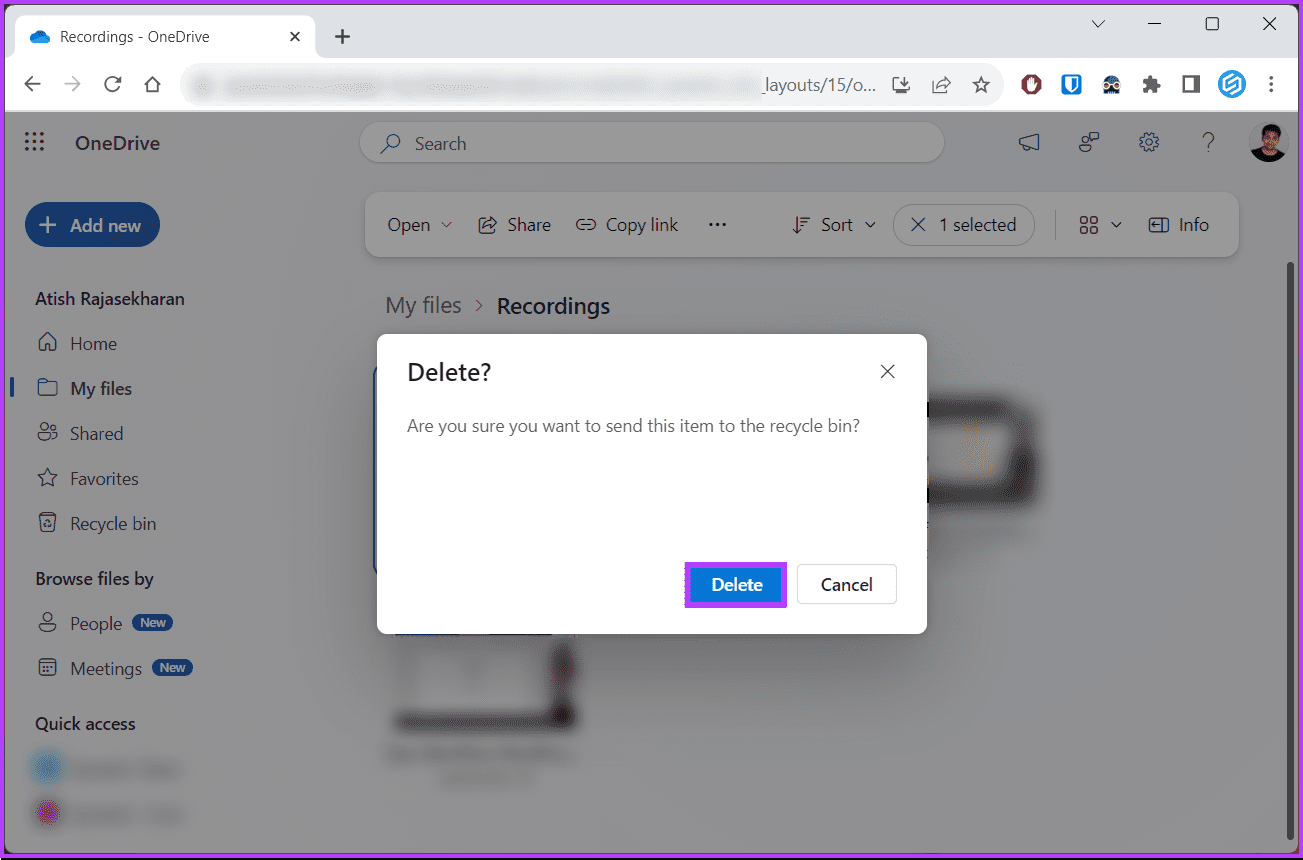
If you are looking to delete it from OneDrive, keep reading.
Step 5: From the drop-down menu, choose Delete.
Step 6: In the pop-up, choose Yes.
Step 5: From the drop-down menu, choose Move to.
You have successfully moved the Teams recording location without deleting it.
That said, if you have any queries, check out the FAQ section below.
They can help troubleshoot any potential issues.
Microsoft Teams recordings are typically stored in the cloud, specifically in Microsoft Stream.
They are not stored locally on your equipment unless you choose to download them.
You may also want to readhow to set status timeout in Microsoft Teams.

Was this helpful?
The content remains unbiased and authentic and will never affect our editorial integrity.